Showing posts with label WW2. Show all posts

Monday, September 12, 2016

Kangaroo Tank WIP

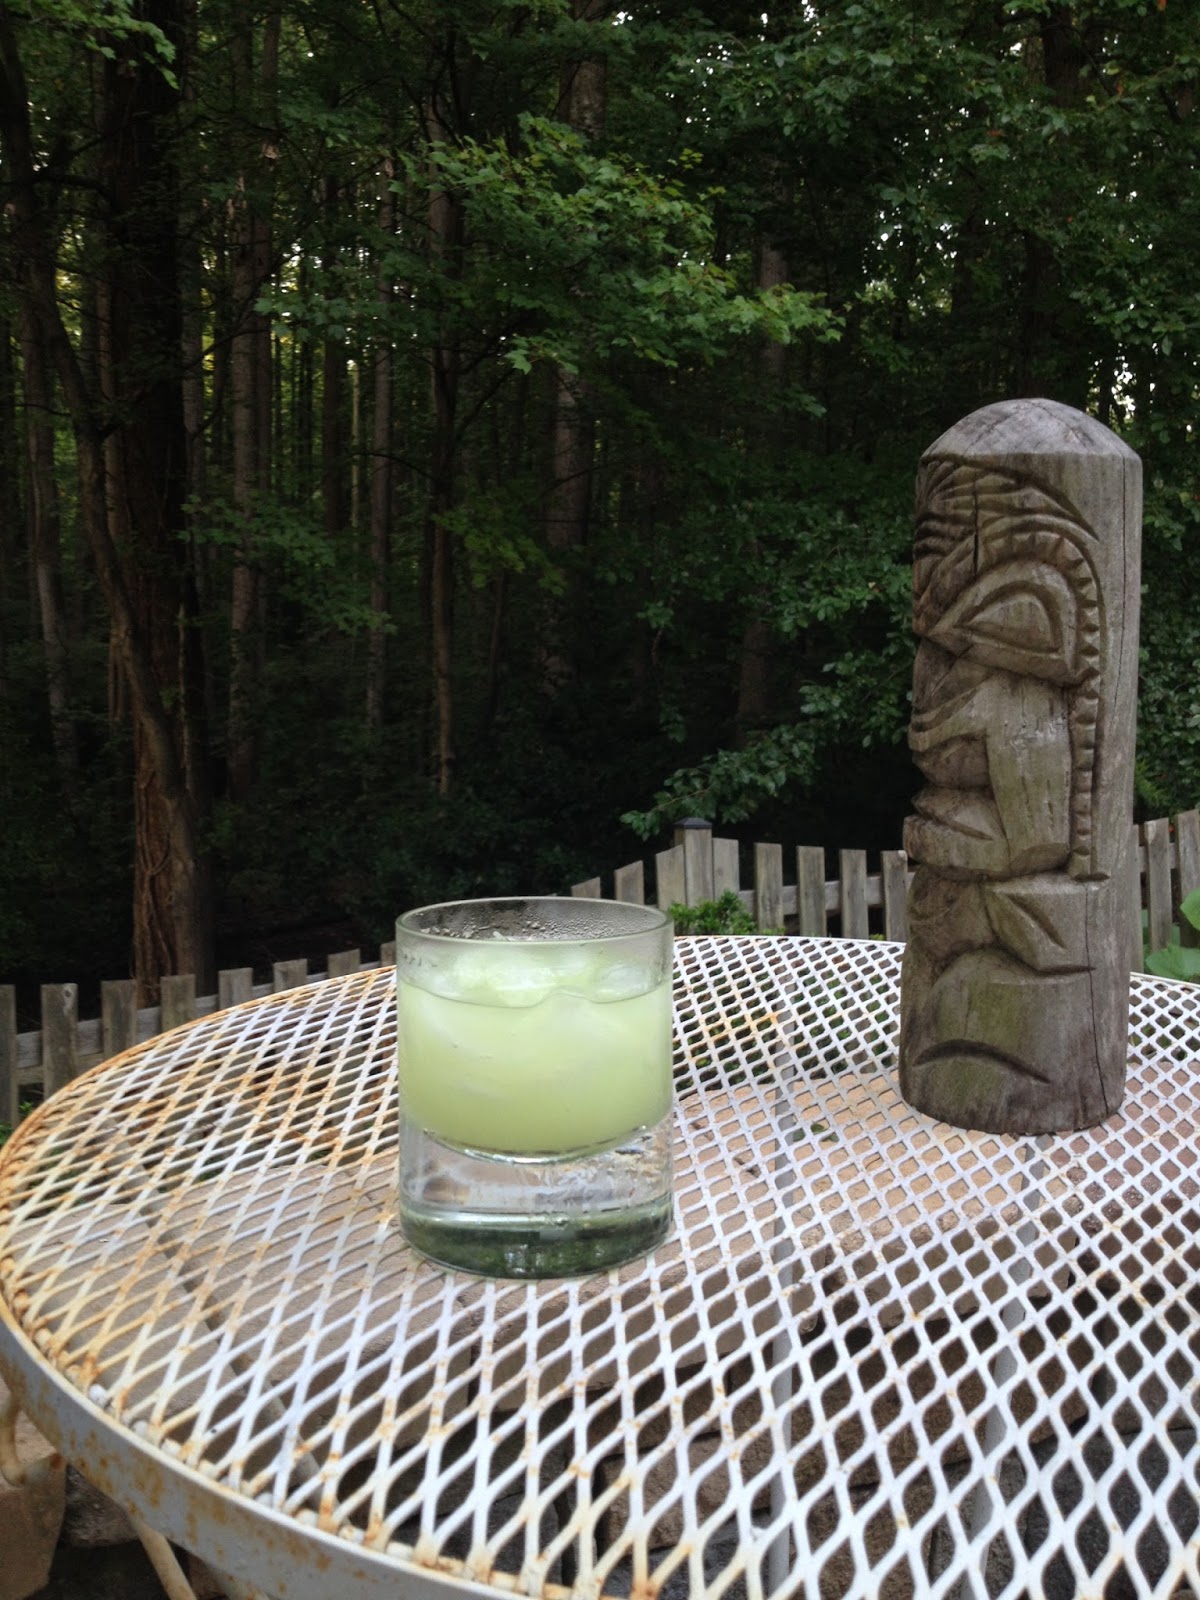
Been out of the net for a while.  Busy moving to a new house.  Here's a picture of Tiki Bob and a refreshing drink overlooking the woods behind my new house.

About two years ago, John challenged me to do a high-quality version of the Kangaroo Tanks (captured Italian M13/40) I made for our Tobruk Wargame.  I'm finally getting around to the project.  I selected the Tamiya 1/35 scale kit for no other reason than it was the one I could find.  It comes with kangaroo decals, but I have not yet decided whether I will use the decals or freehand the markings.

For starters, I have never made a 1/35 scale tank, and I did not know what to think about such a big model.  Having completed the first part of the project, I can say that I really like working in the large scale as it give me the ability to work in a lot of nuanced detail without overwhelming the model.


After the initial basecoats and some wash, I used a straightedge to replicate the scoring that you get on the sides of the hull from the treads.  I wanted to try also to replicate the wear you get from the track bouncing up and down as well, but could not make it work with the lateral scoring, so I just shaded the hull between the return rollers with a darker paint to suggest wear.


I love dioramas and terrain, so I bought some British armored vehicle crew models and am trying to think of a good vignette.  I originally wanted to have one of the crewmen painting a kangaroo on the side of the turret, but I'm afraid that exceeds my modeling expertise.


With 1/35 I get to make oil stains that don't look like a superfund site.  The wear and tear is so much more fun to do at this scale and looks so much better than paint chipping on smaller models.  Really enjoying this project so far.


Friday, August 21, 2015

Guadalcanal Table Part 2

So, things are not going real well.

I tested super heavy acrylic gloss gel medium, and I thought it would work great, which it would, if I had three months to let the gel dry and clarify.  Not going to work this time around (although I am excited about the prospect of working in heavy gel medium in the future.)

Here is what the test panel looks like with a thick schmear of super heavy gloss gel.  I'll show you another picture in late Autumn, it may have dried by then.


But now I am out of time.  I could go small and lame and douse the water with varnish and call it good.  But that's not my style.

I really want to make the spot where the muddy water of the river mixes with the clear ocean water work, and the only way to do that is with a medium that gives some depth to the water effect.  I went back to the art store and bought some Liquitex medium acrylic gloss gel and a tub of acrylic gloss medium/varnish.  I mixed about one part gel to two parts varnish, and rolled the dice.

I kind of sucked.  Applying the gel totally disrupted the modulation pattern I had carefully laid down with the blue pigments and turned the whole ocean part into hodge-podge impressionist seascape.

Nothing to do but move forward.

I next mixed about 1 part gel with 4 parts varnish and about a half-tablespoon of light sienna pigment, and carefully poured the river.  This went OK, but I am very nervous that it will dry with a concave surface (if it dries with any body depth at all).  I have also accepted the reality of bubbles in the river due to mixing the medium, but I'll worry about those later (I went through and popped the big ones).

Thoroughly dissatisfied with the way the ocean looked, I scooped some medium gel medium directly onto it, sprinkled the lumps liberally with snow flock (foam and bubbles), and stirred them into waves using a toothpick and a "sideways tornado" stirring motion to replicate water turning in waves.  Finally, I filled the lagoon with acrylic gloss medium.  I have absolutely no idea what I am doing at this point.  Here's how it looks right now:


If I am very lucky, the waves will dry and clarify by game time next Sunday.  The river and lagoon should dry in a couple of days, so I can go back and fix them if they are too assed-up to live with.

Alia iacta est.  Tune in in early September to see how it turned out.

Saturday, February 14, 2015

WIP Update: Models for the Tobruk 1941 Game

 Here's the latest round of models for the Tobruk 1941 game coming up.  I painted Warlord 4 Panzer IV models for the DAK team as well as a captured Warlord 222 models to go with the captured Italian tanks for the Aussie team.

They turned out OK.  Some of the weathering and rust is a little ham-handed.  Some of the dirt effects on the road wheels looks pretty good.  Overall, though, they should look respectable on the tabletop.


Tuesday, January 13, 2015

Bolt Action Battle Report: D-Day Mini Campaign Game #3

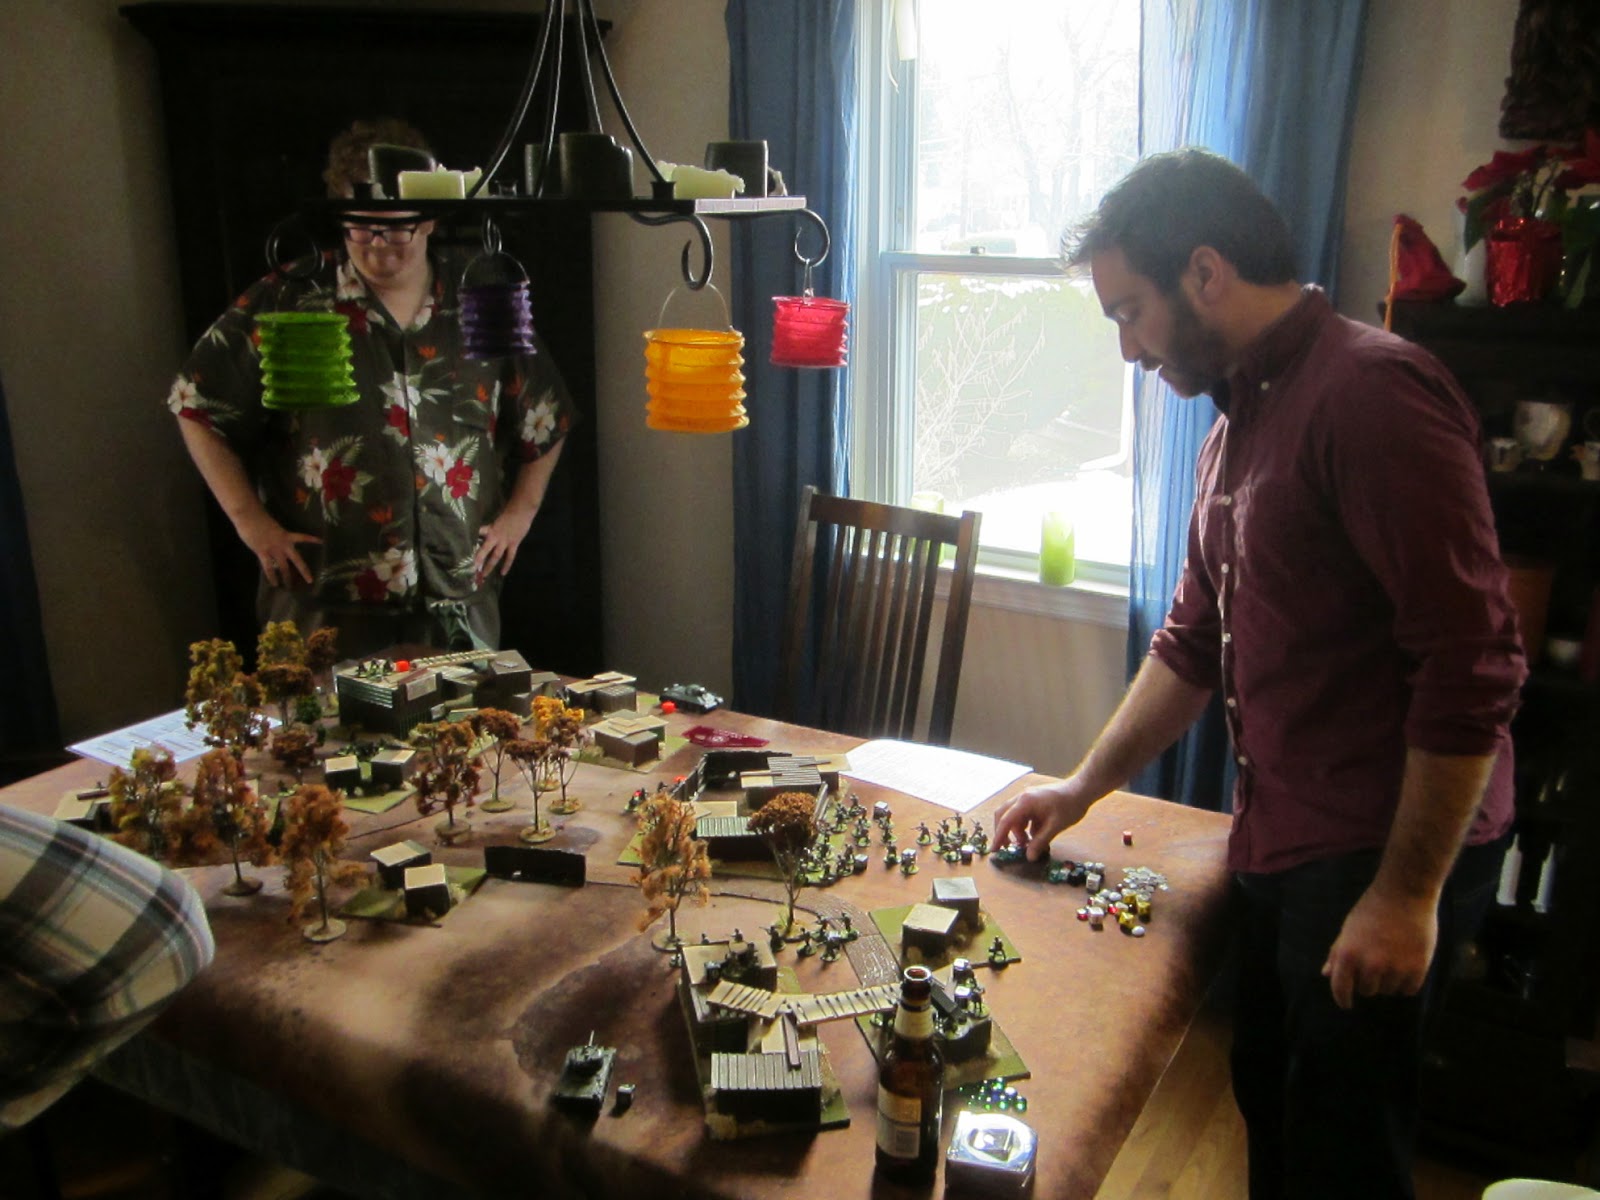
We had a big day this past weekend with John, Mike, Drew, Sean, Owen, Casey, Mike, and Geddy & Bootsie the Schnauzers all coming over for some Bolt Action action.  The centerpiece of the day was the third and final game in the D-Day mini campaign that we started in the Fall.  In this scenario, Drew, John, and Mike played 5th Kompanie, 2nd Battalion, 916th Grenadier Regiment as they counterattacked a platoon from B Company, 1st Battalion, 116th Infantry Regiment (played by Sean and Owen).  On the other table, the Bolt Action family welcomed a new member as Casey introduced Mike to the game with a 1946 alternate history scenario of US Buffalo soldiers going up against the Soviet Red Army.

As with the previous games from the D-Day narrative campaign, the players did not know the specific victory conditions for their teams.  Each side received an order with tactical tasks (platoon level) and the commander's desired endstate, and had to plan and execute their missions using analysis of the situation, tasks, and terrain.  As happened last time, the players all seemed to enjoy this aspect of the scenario, and it produced a very tactical game with almost no artificial douchy gamesmanship (with the possible exception of some cheatin' Germans maneuvering a half track out of turn!)  Cheatin' Steve approves.

The force ratio gave about a 3:2 advantage to the Germans.  The Americans mitigated this disadvantage by defending form the cover of the Chateau de Vaumicel.  At the end of the day, this force ratio seemed to work well for an asymmetric game scenario with one force attacking a defending force in cover.

The Germans fielded three Grenadier Platoons, each with a command section and three squads.  Each squad had an SMG, MG42, and 4 rifles.  The German company command element included a Captain, an Artillery Forward Observer, and a 222 Armored Car with an automatic cannon.  In reserve, the Germans had a squad in a Hanomag half track (to be deployed at the GM's discretion if things started going too pear-shaped) 

The US team started with one platoon (command section plus two squads) and a company command element with Commander & 1SG, an 81mm mortar with spotter, a bazooka team, and a sniper team.  In reserve, a platoon from A Company, 5th Rangers waited to enter the table with two squads and a US Army Air Corps forward observer team.  Each us squad had one SMG and one BAR.

So here is how it all went down...


The Americans set up in the Chateau and watched as the German Grenadiers formed up to attack.


The Germans moved cautiously onto the table, unsure whether there were any US units waiting in ambush along their axis of advance.


The Germans advance slowly with platoons on-line toward a stone wall with the buildings of the Chateau in the distance.


With the entire Grenadier company behind the cover of the stone wall and the Americans starting to fire from the buildings, the German FO called a smoke mission to obscure the breach site (the windows and door along the side of the chateau near the stone wall in the photo below).  Unfortunately, the shot was inaccurate, and landed too far form the buildings to obscure the breach site.  This was going to get bloody at the breach.


Inside the courtyard of the Chateau, the company commander (foreground) encourages his soldiers in the buildings while the 81mm mortar (background) goes to work raining high-angle hell down on the German attackers.  The mortar spotter shared the Chateau tower with the sniper team.


Along the road on the Germans' left flank, the FO's VW provided cover for a squad of Grenadies who were getting chewed-up by fire from the Chateau buildings.


The Ranger platoon started to move onto the table with the US Air Corps FO team setting up in a ruin to the north of the battlefield.


The 222 armored car attempts to suppress the Americans  while the German assault element starts to mass and advance on the right flank of the German line.


The Ranger platoon advances toward the Chateau gate to lend a hand in the defense of Chateau de Vaumicel.


The German command team plots their next move.


Fistfulls of pin markers indicate an effective air strike called in by the Air Corps FO team.


Elsewhere, Casey introduces Mike to the absolute awesomeness that is Bolt Action.


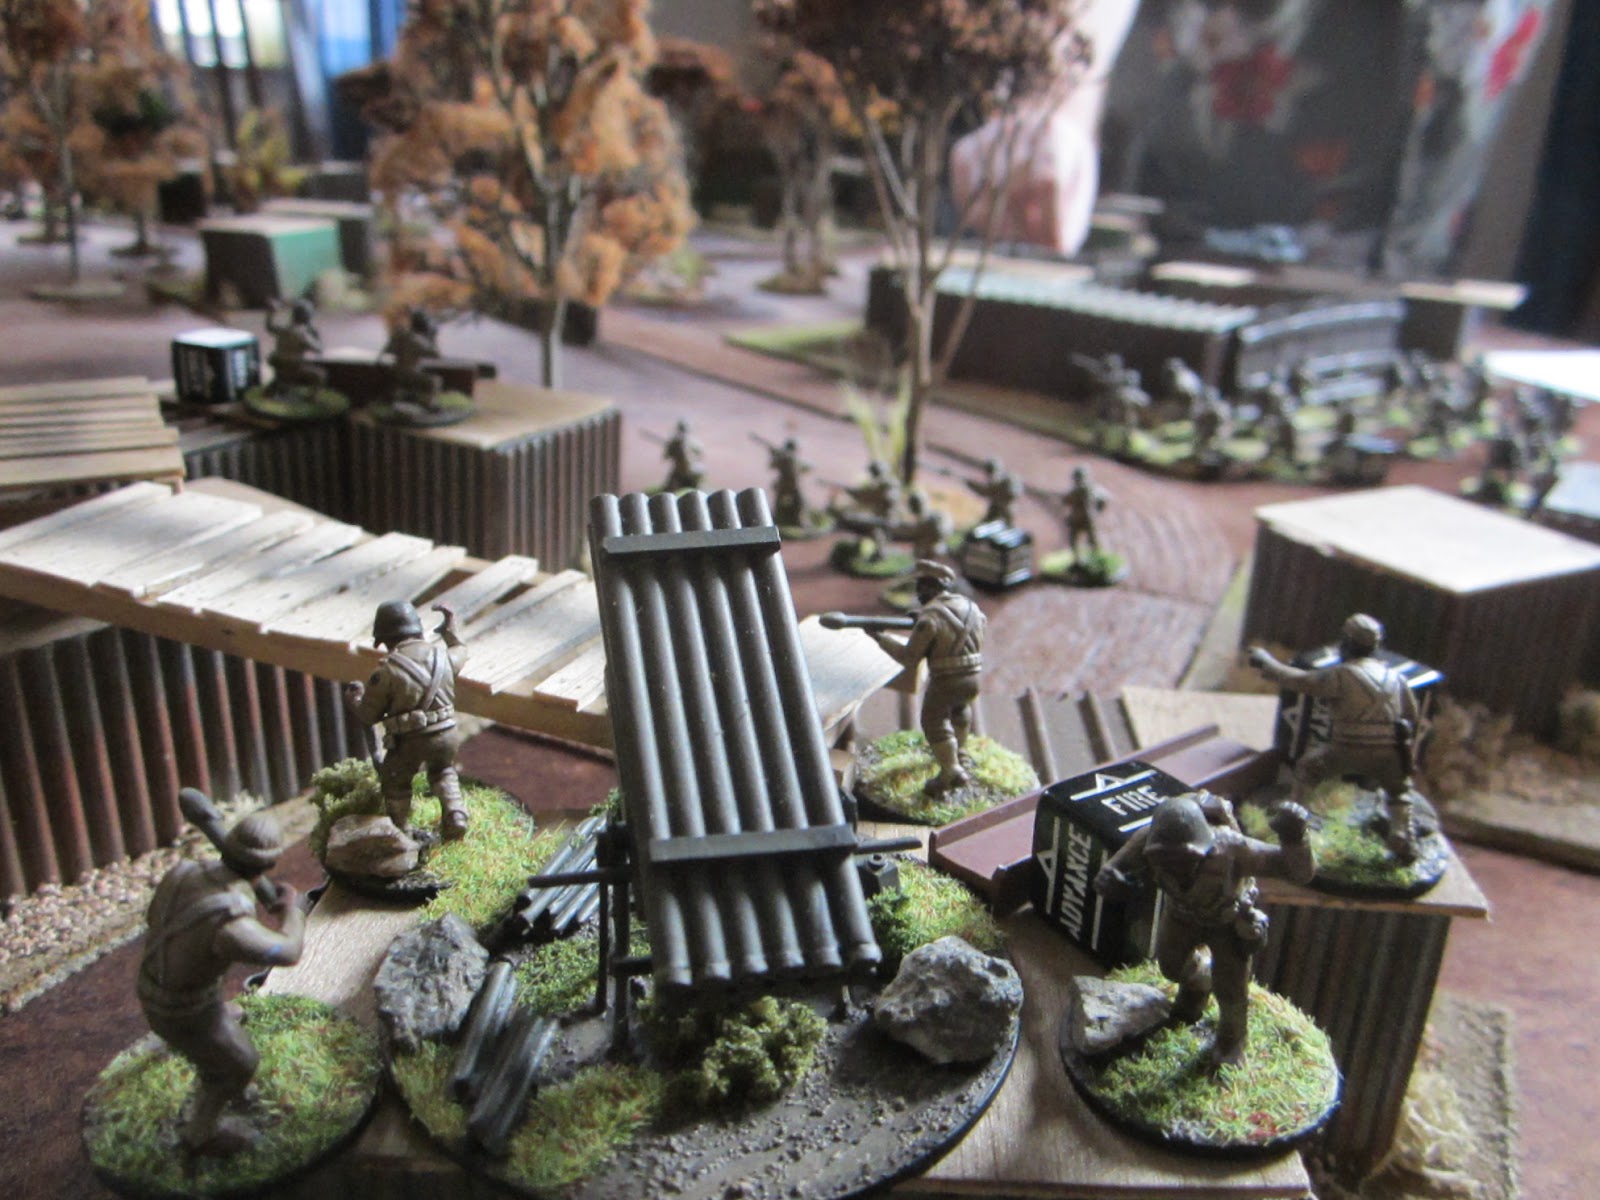
American rocket launcher positioned on a rooftop!


Buffalo Soldiers advance to engage the Soviet menace.

And then I inexplicably stopped taking pictures...

...So here's the rest of the story... The German attack really started to falter under the sustained fire from the Americans in the Chateau.  I elected to give them the reserve half track squad, which they put right into the fight along the road on their left flank.   The German Grenadiers finally reached the breach site, where their lead assault squad was annihilated by, get this, the American Bazooka team.  It happened.

Then the Americans called-in an airstrike on their own position with a bad roll, while one platoon from the Rangers incredibly failed to obey orders to enter the Chateau.  The high point of the American fight was the National Guard sniper taking out the German Commander.

In the end, the Germans were able to get into the Chateau, but they were unable to dislodge the Americans.

We all congratulated ourselves on a battle well-fought, recharged our drinks, then I dug out the victory conditions and determined that the Germans had scored 3 of 5 victory points while the Americans scored 2 of 5 which, no matter how loudly those cheatin' Germans yell about it, is a draw.  From what I saw, the deciding factors for this game were the offsetting air strikes, the insubordinate Rangers, and the ability of the Americans to engage the Germans from the cover of the Chateau.

Thanks to all the guys for making this event possible.  I think I have a pretty good bead on developing asymmetric wargame scenarios based on what we learned from this mini campaign and I am geared-up for more.  We definitely have a good group of narrative wargamers beginning to coalesce around this system.  Very fun stuff!

Tune in next time as we head to North Africa for some DAK v. 8th Army action!

Sunday, September 14, 2014

WIP Late War German Infantry, A Cautionary Tale

I'm starting work on my Bolt Action models with the hope that I can get some of the guys together for a demo game in a couple of weeks.  I have been talking up the game in a big way, so I am excited to get some models on the tabletop.

I started with German infantry.  After cleaning and assembling the models, I primed them using P3 white spray primer.  I can say that this is the best spray primer I have used so far.

Because these will be late war Germans, I wanted to ensure that I got the right shade for their uniforms.  Late war German field grey uniforms generally had a more brownish appearance than the blue grey uniforms of the early war period.  To capture this I mixed 1.5 parts Secret Weapon Blue Black Wash with 1 part Secret Weapon Concrete Wash and painted the uniforms with the wash mix.
I then mixed 3 parts Vallejo Sombre Grey Game Color acrylic paint with 1 part Vallejo Heavy Charcoal Game Color acrylic paint and then diluted that mix 2:1 with water.  I then painted the helmets with this mix.
So far so good.

The next step was to apply a black oil wash over the base coat uniform.  I prefer oil washes to acrylic washes because the capillary action seems more even (acrylic washes succumb to gravity more than oils) and pooling is easier to clean up.  Here is how the technique works: I put a dime-sized dollop of Rembrandt Ivory Black paint in the bottom of a shot glass and thin it with about an ounce of mineral spirits.  It takes a lot of stirring to dissolve the paint in the thinner-several minutes-so make sure you get all the lumps of paint out.  I then put another splash of thinner in a second shot glass.  I wash the basecoat and then use a paintbrush or q-tip dipped in the clean thinner to clean the pooling wash off high points (and any other places I don't want it). The result is more even blacklining, less gross pooling in low spots, and subtle shading. 


Except things didn't go so well this time.  I have used this technique before to good effect, but this time things went wrong.  When I applied the wash, it became clear that the acrylic was was either not completely dry, or did not completely bond with or cover the enamel primer.  The thinner started to dissolve the primer, causing a faint milkiness to seep through the basecoat in a couple of places.  I wasn't too concerned about this, as these are army pieces, not show pieces, and I hoped that the milky wash would darken and blend with the field gray/black wash as it dried.  I finished washing the models, being careful to dab the wash onto the surface (instead of painting the wash across the surface) and then then turned to the clear thinner to clean up the high points.  Here's how things looked at this point:


I should have anticipated the ensuing catastrophe.  I'm sure you astute artists out there already know what I am about to write.

Because the thinner had already started to soften the primer underneath the basecoat, the first time I swiped the brush loaded with clean thinner across a model, it took the primer and basecoat off with it.  You can see my handiwork in the picture below.  The model in the upper left has a huge gouge in the top of his helmet, while the model on the lower right has lost a large chunk of paint from the top of his outstretched arm. The model on the upper right shows some of the primer bleeding through the basecoat of his tunic on his left hip.


Brushes down.  Walk away.  Take stock.  Make a recovery plan.  Prevent a repeat.

I have used this technique before, but with acrylic paint, not washes.  That said, I painted the helmets with paint, and they were affected just like the basecoat of wash.  The one thing that is different this time is that I only waited about an hour (maybe less) between applying the basecoats and then the oil wash.  When I have used this technique in the past, I have adhered to my hard and fast rule of waiting 24 hours for an acrylic layer to bond and dry fully before painting any effects over the top.  This time, I am speculating that the acrylic had not bonded to the enamel primer, allowing the thinner to seep through and dissolve the primer.  For the next batch of soldiers, I will repeat the process with a full day between acrylic basecoat and oil wash.

As for repairing the damage to these guys, I will try to remove the basecoat and primer from the affected areas (helmet and arm) and then re-paint them.  If the milky areas don't blend I will probably just reapply a field gray wash over them to darken them sufficiently so that they won't stand out in a crowd.

I'll let you know how it goes.

Wednesday, September 3, 2014

A Bolt Action Battle Report...sort of

Welcome to the first Bolt Action Battle Report from Cheatin' Steve's.

OK, so this isn't exactly a Bolt Action battle report.  Because I do not have any WW2 miniatures painted, my Son, Connor, and I decided to use IG Steel Legion models as Germans (mainly because of the sweet heavy bolter models) and Orks as US infantry.  This is pretty appropriate because the US special rule in Bolt Action allows rifle/BAR models to advance and fire without penalty-pretty Orky.

Forces:

Steel Legion (Late War German)
3 Squads: NCO with Submachine Gun, MG42 team, 3 riflemen
1 Officer with Veteran (2x submachine guns)

Orks (Late War US Army)
2 BAR Squads: NCO with submachine gun, BAR, 6 riflemen
1 Sniper team (2 models)
1 Officer with Veteran (2x submachine guns)


Mission: Maximum Attrition

For referencing the pictures, I'm at the top of the board, Connor is on the bottom.


Turn 1:  Our forces move onto the board.  Connor moves one MG42 squad onto each flank.  I place a sniper on my far right flank (on top of the tall building in the upper left corner of the photo) and run one BAR squad 12" onto the board.


Turn 2: Connor moves his third MG42 squad and HQ into the center of his line.  I give my snipers an ambush order and move my HQ up behind the BAR squad on my right.  My second BAR squad ignores my orders to advance onto the table.  Insubordinate fucks.

MG42 Heavy Bolter team set:

Ork Sniper team (YES, I SAID THAT) has commanding fields of fire

MG squad moves into position

Orks skulking behind cover


Turn 3: Connor inches his squads forward, positioning them to establish an engagement area when the time is right (while staying out of sight from my sniper team).  I move my BAR squad and HQ forward on my right flank, keeping behind cover.


Turn 4: Connor establishes his engagement area by moving his MG42 squads into the open and onto rooftops.  My sniper fires at the MG42 in the center but fails to cause a casualty.  I consolidated the BAR squad and HQ behind cover on my right, while the second BAR squad finally obeys orders and moves up behind the first squad and HQ.


Turn 5:  Connor stays put, waiting for me to enter his engagement area.  My sniper team refuses my order to fire, but the BAR squad on my far right advances and destroys the MG42 team on Connor's left flank.  This launched an extensive rules review which determined that Connor could have removed non-MG42 models that were out of line of sight from my units, though he opted to remove the MG team.  It ended up a moot point because of what will happen in Turn 6, but I get ahead of myself.  Throwing caution and tactical acumen to the wind I race my second BAR squad forward into Connor's engagement area in a vain attempt to gain the cover of the building in the lower left. I'm  banking everything that I will get first draw next turn and move the squad safely into the cover of that building.


Turn 6:  Connor totally catches me with my pants down.  He draws the first two orders, meaning that he can fire at my vulnerable BAR squad with two MG42 squads.  The MG42 squad on the right does its job and kills two models from the BAR squad.  But then the MG42 squad in the center rolls a FUBAR (double 6's), panics, and fires on Connor's own squad on the left, annihilating it.  This gives me an assailable flank, and I press my advantage.

Connor's MG squads sight-in on my defenseless Orks

Avoid this:


Turn 7: Connor's left flank is turned, so the outcome is pretty academic at this point.  Being a hardcore gamer, he keeps his Steel Legion troopers firing at the BAR squad in his engagement area, piling on casualties and pin markers, but the Orks manage to pass their morale roll and stay in the game.  I fire at the MG 42 squad in the center with my sniper and with my BAR squad that is advancing on the left.


Turn 8:  We keep playing because we can, though the outcome is already decided.  Connor's MG42 squad on the right causes a casualty on my advancing squad, but not before the BAR squad annihilates the MG42 squad in the center.  My snipers manage to kill a soldier in the remaining MG42 squad, but fail to disable the machine gun itself.


Turn 9: To the bitter end.  I get the drop on activations this turn and complete my sweep of Connor's line.  He is left with his HQ sheltering behind cover in the center.


Reactions.  This was a very rudimentary game, with my Son and I getting a feel for the mechanics using small forces.  Big thanks to Connor for sticking with it after his panic-stricken squad in the center lost the game for him.

Our first impression is that this game responds very well to real tactics (unlike Warhammer 40k).  The alternating activation is awesome, the prohibition on pre-measuring any distances, along with the FUBAR rule (which caused catastrophic panic in Connor's force and lost him the game), represent the fog of war really well.  Competitive/strategic gamers will not like this game due to its unpredictability and lack of control (though one does have the opportunity to construct douchy, optimized lists if one wishes to depart from historical reality).  Narrative/tactical gamers will enjoy Bolt Action for its entertaining flow and tactical realism.

FOR THE RECORD: THIS WAS THE MOST FUN GAME OF 40K I HAVE PLAYED IN OVER 20 YEARS.  Suck it, GW.

I'm looking forward to more.