
Our wargaming group played a large Battle of the Bulge scenario this weekend with Sean as the GM. I'll try to tell the story as best I can, but this was a pretty wild one. Apologies up front for the disorienting pictures, I was snapping them pretty quickly while trying to keep up with some really dynamic game play. Props to Sean for the best GM led game we have experienced thus far. He really maximized the ability of the GM to introduce tension and surprise into the game.
The scenario was the opening of the Battle of the Bulge on December 16, 1944. The Americans (Gavin, Keith, and me) were occupying hasty defensive positions while we waited for the weather to clear enough for us to resume our attack East into Germany. Unbeknownst to us, the Germans (Drew, Owen, and Mike), were about to launch a major attack in an attempt to penetrate our lines and capture our supply depots in order to fuel a German drive toward Antwerp.
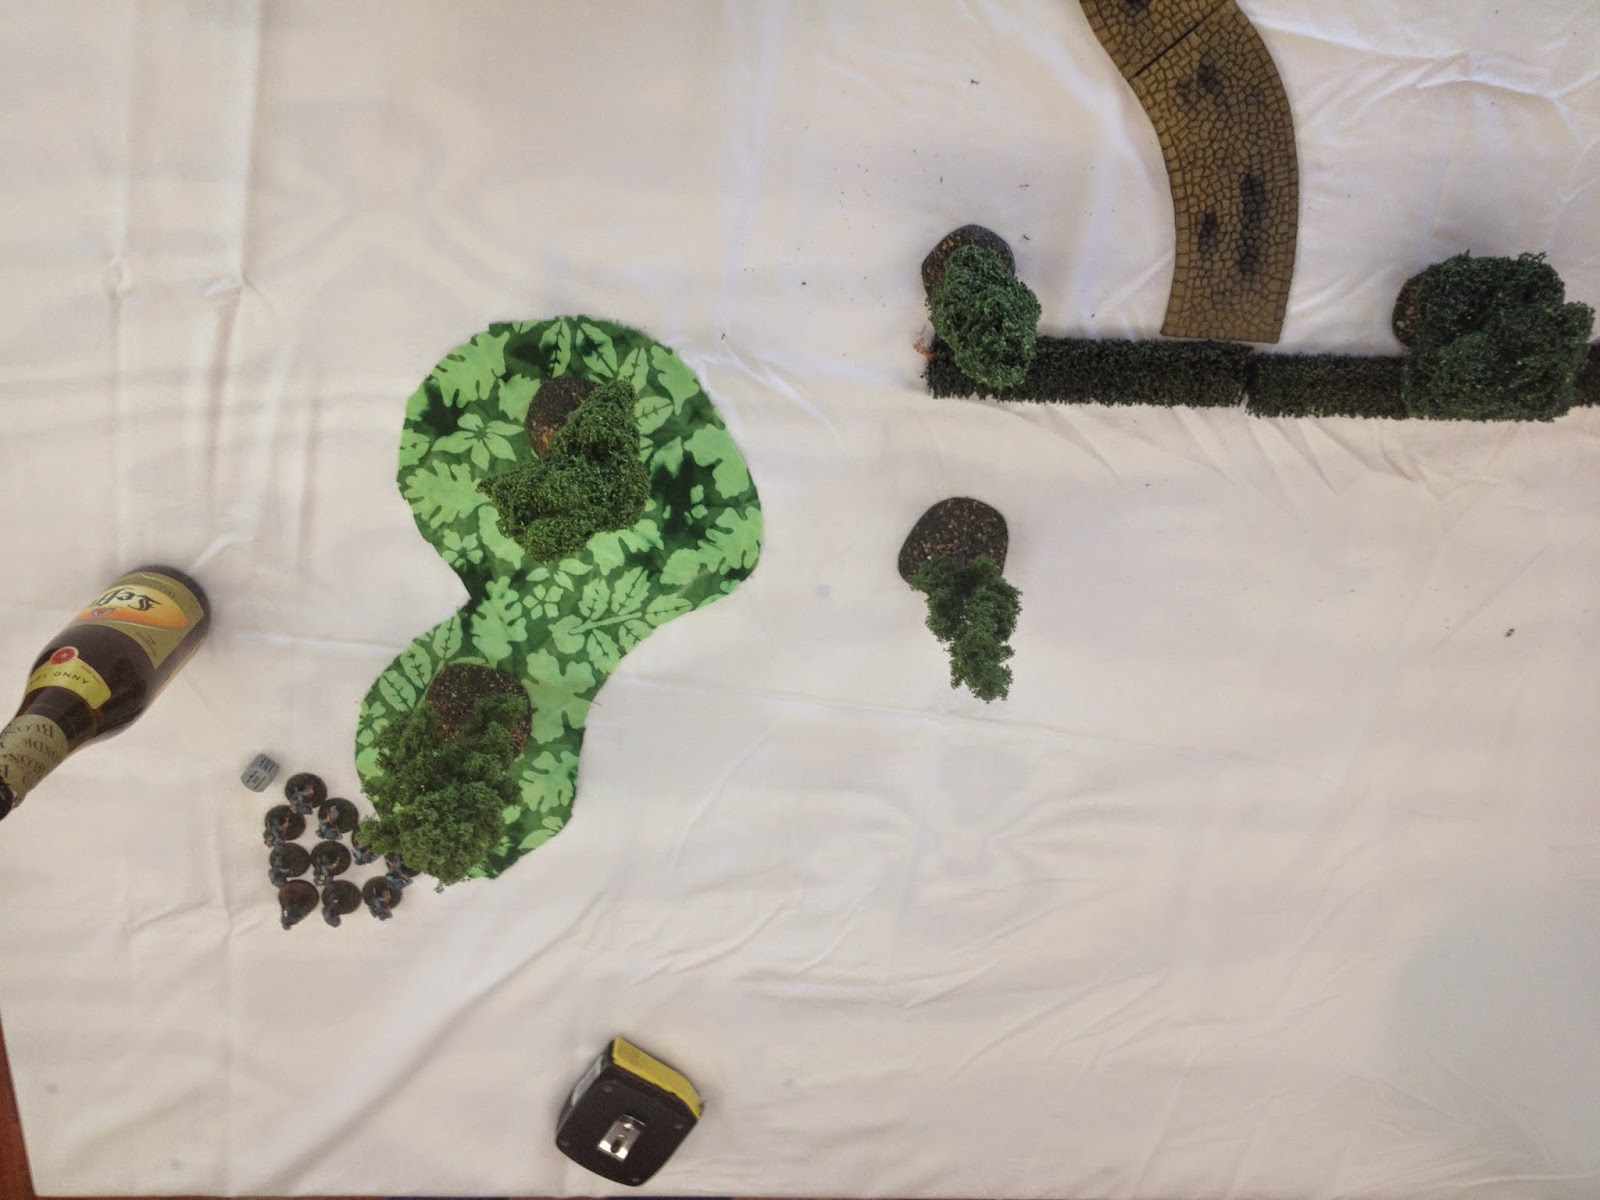
The battlefield included three separate battle areas. In the foreground below is the Right table, which represented a piece of the American front lines. The center table represented a traffic control point (TCP) several kilometers to the West of the front lines. All American reinforcements had to flow through this checkpoint. In the background is the Left table, which represents another section of the American front lines.

The Right table looking westward along the German line of attack toward the American positions. Drew and I would face each other on this table.

The TCP in the center. Keith would man this with a squad of MPs. His job was to decide whether Gavin or myself would receive activation dice when drawn. He would also be responsible for ensuring that American reinforcements made it to the correct table.

Gavin's sector on the left where he would face-off against Owen. With the heavier woods and frozen stream promising to slow down enemy armor, we elected to put our lone bazooka team in my sector where it would have better fields of fire.

Speaking for forces, here is what we had. 2 regular infantry platoons equipped with BARs (my platoon got a bazooka team). One MP squad. The reserves consisted of two regular infantry squads (one with AT grenades), a Hellcat tank destroyer, and a Sherman medium tank.

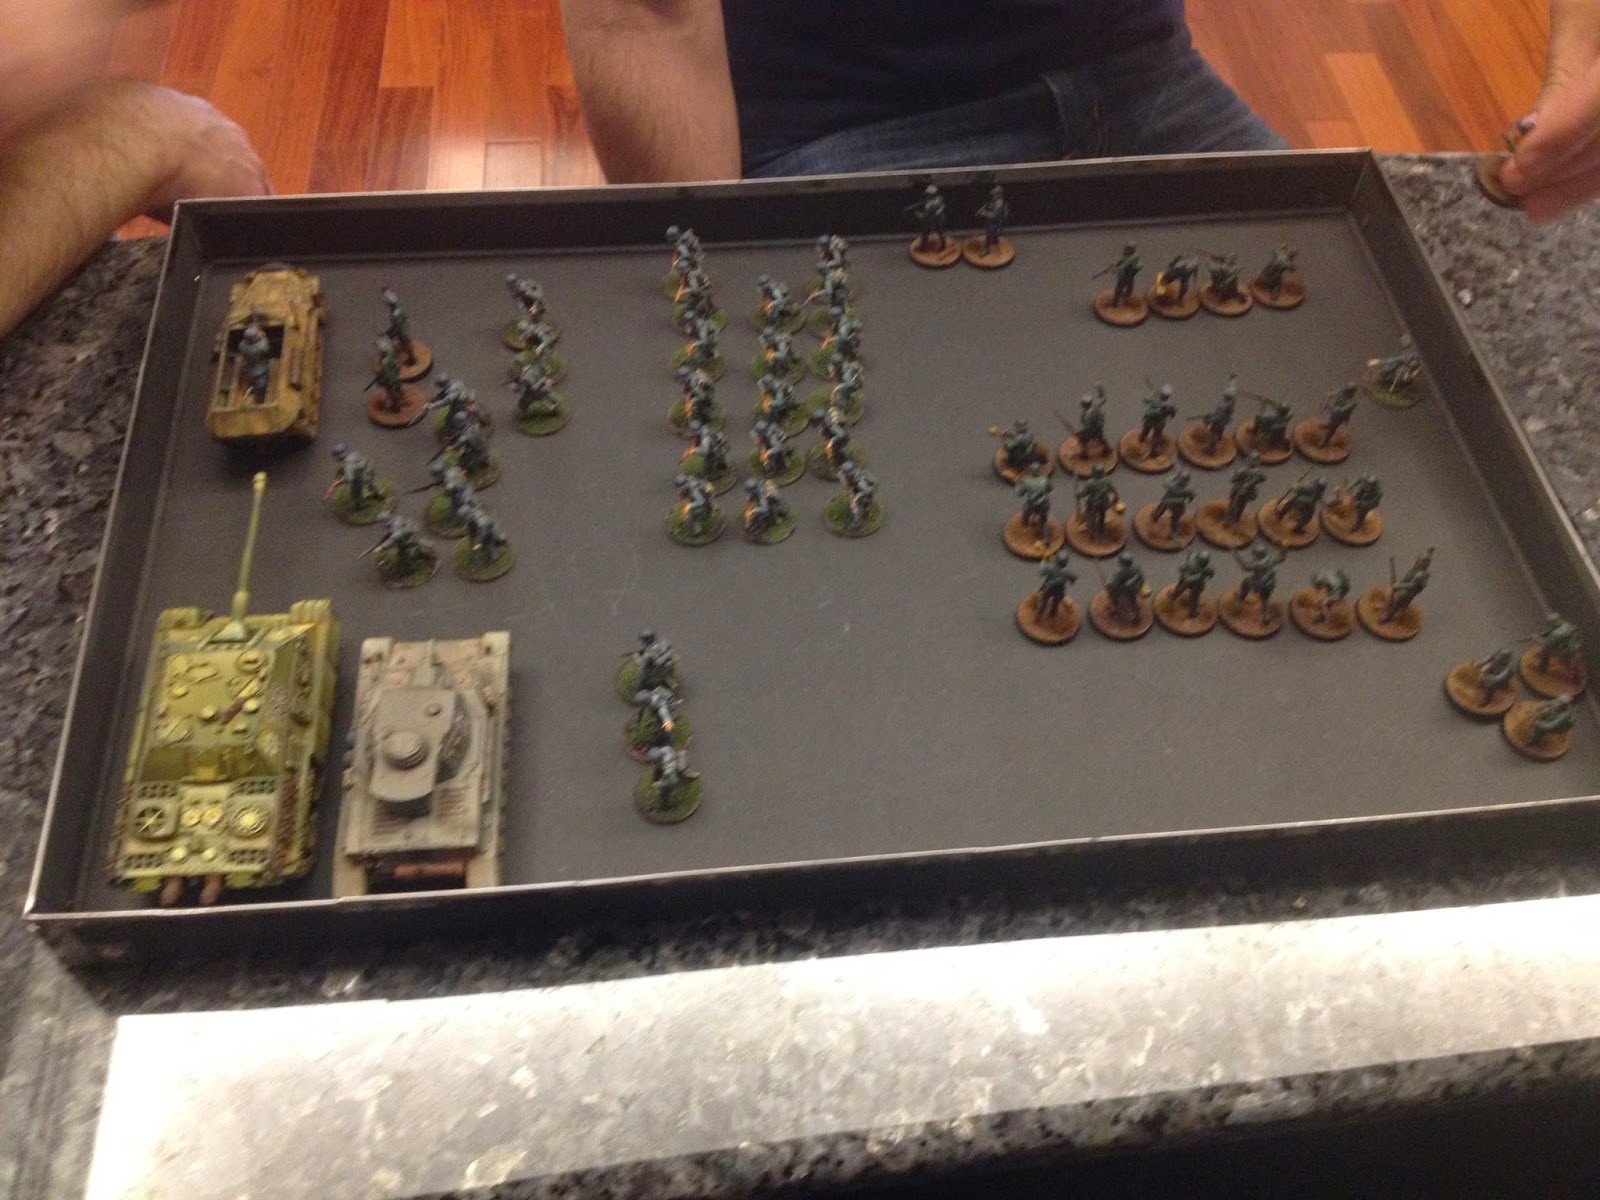
The Germans also had two infantry platoons which were a mix of regular and green troops to reflect the Volksgrenadier concept that dominated German force composition in the late war. Their reserve included a Panzergrenadier squad with a Hanomag half track, a Panzer IV medium tank, and a Jagtpanther that we played as Jagt Tiger super heavy tank destroyer. To reflect the force overmatch employed by the attacker, the Germans were allowed to bring their squads back onto the table as soon as they got destroyed. Our gaming group really needs to paint more Germans.
The action opened on the left with Owen advancing his infantry platoon. The Americans benefited from hidden setup, so Owen was probing through the forest trying to identify Gavin's defensive positions.
.JPG)


On the right, Drew advanced on my right flank, clearly seeking to use the woods as a covered and concealed route to get around my flank. He flushed-out the bazooka team I had positioned in these woods, but they were able to use the intervening woods to keep from being detected by the advancing Germans.
Gavin springs an ambush and annihilates one of Owen's squads while Mike, acting as the German commander, looks on.

Over on the right, Drew has maneuvered very well and is positioned to roll my flank. I am concerned.

On the left the Germans fight back, hitting Gavin's ambush squad hard, but not before he takes down another German squad. You can see Gavin's other forces revealed along the river now as they are exchanging fire with the advancing Germans. At this point, Owen started to make some progress against Gavin's defenses, aided in part by some questionable activation die allocation by Keith.
.JPG)
On the right, Drew advanced one of his squads too far around my flank. I had to spring the ambush, but I also caught him largely in the open. His squad of green troops was annihilated and I was able to stave-off disaster. Here, his remaining two squads prepare to use the forest to better advantage to get after my flank.
.JPG)
Keith kept handing me activation dice, much to Gavin's dismay, but since it allowed me to fight-off Drew's attack, I was fine with that. Here you can see me revealing a second squad to move against Drew's attempt to flank me.

Then things started to go pear-shaped for us. With Drew starting to run into trouble against my position, the Germans decide to bring in all their reinforcements against Gavin's position, which was now significantly weakened as a result of me getting most of the early activation dice in the turn.

Gavin is really taking it in the shorts at the hands of the overwhelming German attack at this point. "Sure sucks to be him," I'm thinking.

Because, look! Keith just directed a tank reserve through his TCP onto my table! Both Drew and Gavin would suffer because of this, but hey, what did I care? I was kicking some serious ass at this point and now I had a tank. Woo-hoo! Drew was bringing on more infantry squads, but I had him in a pretty good kill sack now, and I felt confident I could hold him off for the rest of the game. Things were going really well for me--I totally have the right flank in hand.

So you know that moment at the beginning of DOOM 3 where you are taking care of some administrative business like signing into the Mars base and getting your personal stuff squared away, and its not a really big deal, then things start to go slightly awry but you don't necessarily notice it at first, and then you do notice it, and you think its kind of bad, but then you realize that it's more serious than you thought, and you think you really ought to do something about it, but when you start to do something about it you realize that, in fact, all hell has broken loose?
That moment is exactly what Sean and Keith took BOTH SIDES through in their recreation of OPERATION GREIF. No one saw this coming.
So Keith had made some questionable decisions about die allocation, but since it all benefited me, I was happy to let it go. Gavin was less happy, as he had borne the brunt of the German attack and was in danger of being completely defeated at this point. I just chalked it up to Keith having a bad day and not having his head in the game (which, for those of you who know him, is very uncharacteristic.) Then, as one of our reserve squads approached the TCP, Keith said, "and now I'm going to fire at that squad." We all heard him, but initially dismissed it as a continuation of whatever bizarre affliction kept impeding his game play. But then he started counting out dice, and then he started rolling them, and suddenly he was taking models, OUR MODELS off the table.
Both sides were completely stunned ant first. Then, as the realization of what had just happened finally dawned on us, the Germans were as happy as the Americans were devastated. Keith had been playing perfectly, misdirecting resources and generally causing havoc without anyone knowing what was going on.
Turns out that Sean and Keith had worked-out this mechanic weeks ago and now had pulled it off in spectacular fashion. The fact that the Germans were as surprised as the Americans made it even more impactful and historically accurate. All of us agreed that it was the high-point of the game. Well-done fellas!
Keith's "MPs" reveal themselves to be German special operations forces and annihilate the American reserve squad.


Having sprung their trap, the German agents melted away in the Ardennes, and Gavin and I got control of our dice and our reserves, but the damage was done. Below, Gavin gets a reserve squad and a Hellcat on his board, but it is too little, too late, and Owen and Mike destroy his forces to a man.


Over on the right, I'm feeling less smug about the wrecking job I am doing against Drew's forces, and make preparations to withdraw.

"You die, the girl dies, everybody dies." Mike as the German commander seemingly could not fail a roll with his armored juggernaut, while the outgunned Hellcat could do nothing against the massive Tiger tank destroyer. It was worse than it looks in this picture.

So I stopped taking pictures.
This is how the game ended. Burning American vehicles and unscratched German vehicles.

It had the potential to be a really cool ending. To reflect the Americans conducting a fighting withdrawal, Sean reapportioned the forces based on the outcomes of the two battle zones and had both sides roll onto the center table at the TCP to determine the winner. We ended up with a Sherman, a Hellcat, two squads,a bazooka team, and a lieutenant. The Germans had a squad in a Hanomag, a Panzer IV, and that stinking Tiger tank destroyer. I felt that we had a chance at first, but then Bolt Action happened and through extremely unlucky activation draws and poor deployment we ended up placing all of our forces on the board first-shooting gallery style. This allowed the Germans to completely control the fight, and Gavin and I stood there and watched while our forces got systematically destroyed. We had a couple of chances for some revenge kills, but the bazooka and Hellcat were completely ineffective. With the loss of our last vehicle, we surrendered the remnants of our force to the attacking Germans. Counting up the victory points, we forced a draw due to the sheer numbers of German squads we destroyed in our battle zones. As usual, the specific victory conditions were unknown to the players, which helped keep the game play focused on realistic tactics. It worked very well.
It was a very fun and well-run game. Sean and Keith really made everyone's day with OPERATION GREIF. The ending was a bit of a wet firecracker, but that was due mainly to the Bolt Action activation mechanic. We had a good post game discussion about whether to limit chain activations. While I understand why some players would prefer to mitigate the potential for sudden disaster by placing limits on activations, I think the fog of war and uncertainty that the Bolt Action activation mechanic brings to wargaming is one of the best things going right now. Then there is the ambush order question over whether you prefer to retain the ability to react at the expense of the likelihood of getting an activation. Decisions over how to set conditions for the activation dice are a big part of the game. I am willing to suffer through an ignominious defeat due to bad fortune, knowing that I have and will continue to benefit from good fortune in turn. It is all part of the game, and contributes to a dynamism and tension that predictable activation lacks. Not knowing who goes next is huge. I guess it is the closest we can come to experiencing some degree of fear in our games, which is an interesting component of warfare vice wargaming to consider.

.JPG)
.JPG)
.JPG)
.JPG)
.JPG)
.JPG)
.JPG)
.JPG)


.JPG)