Spring Break!
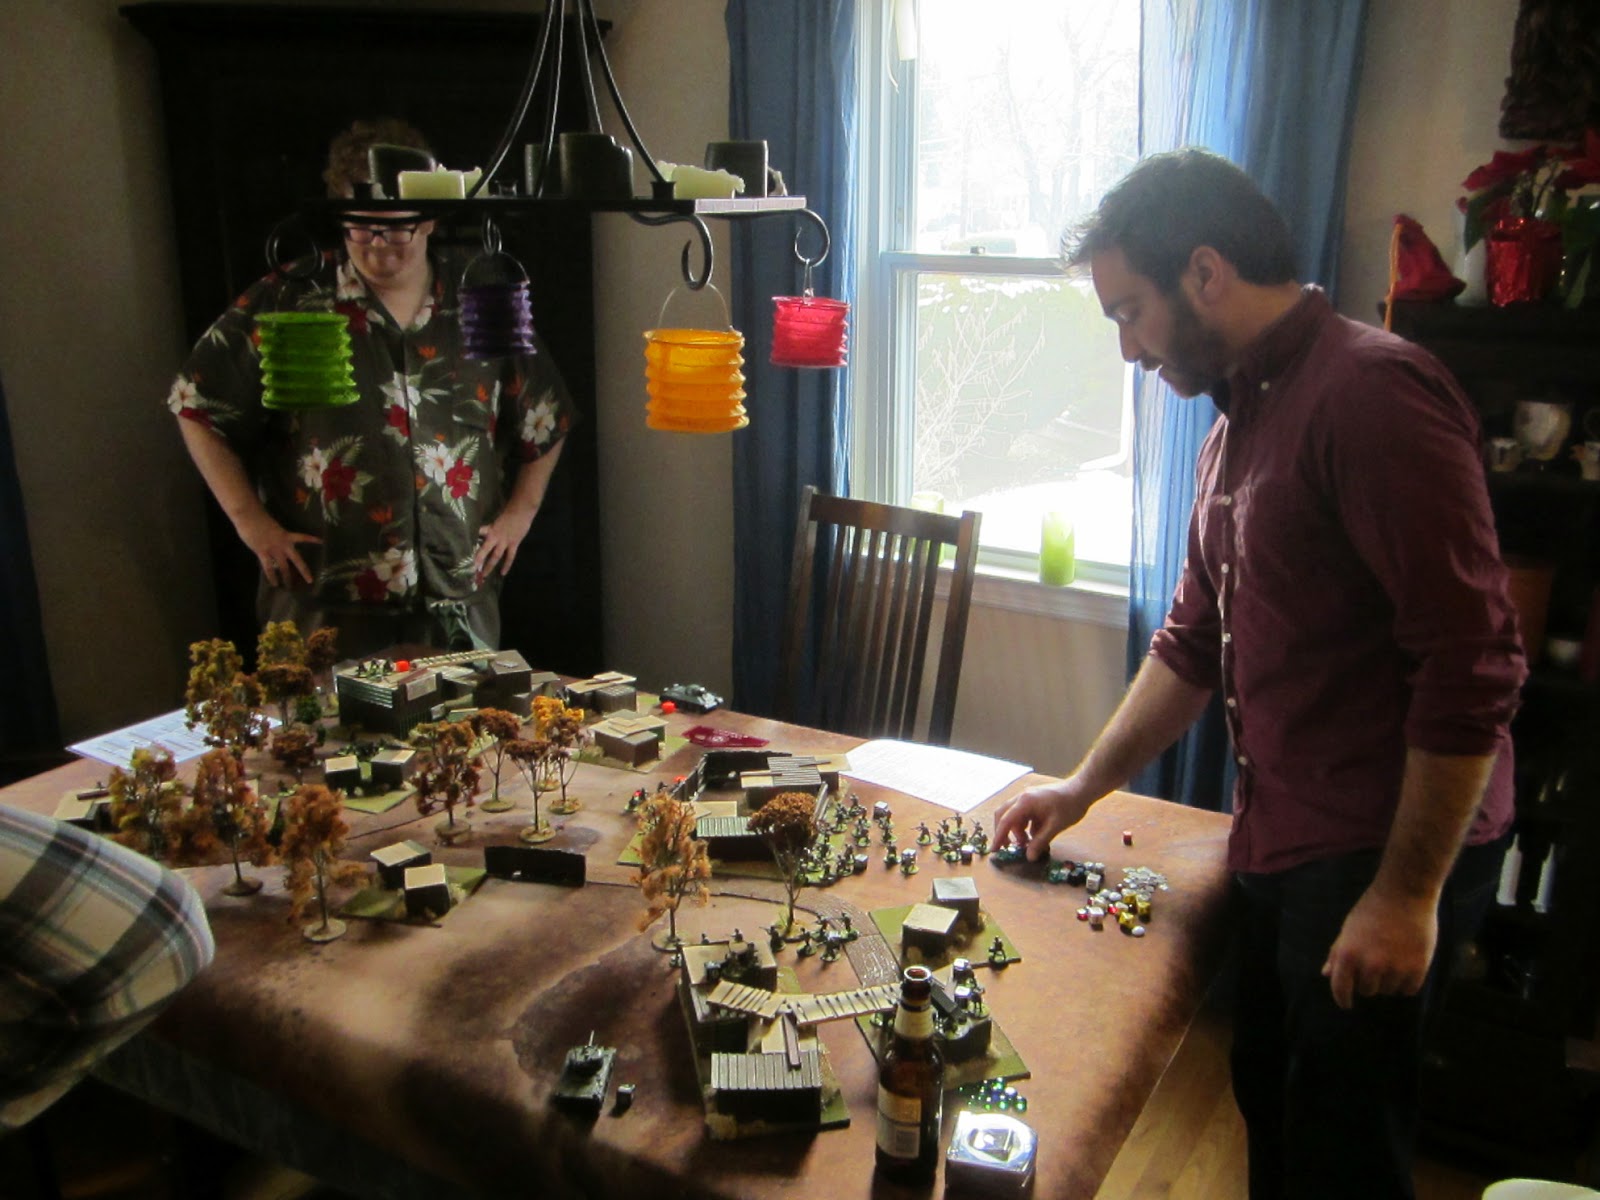
John had me over this week to try-out a mechanic for Airborne insertion. The setting we chose was an Airborne drop in Normandy prior to the beach landings on 6 June (although, as I look back at the pictures, it should be Market Garden due to the beautiful fall foliage). Our scenario involved a reinforced German panzer grenadier platoon tasked with guarding a bridge and a US Airborne platoon tasked with securing the same bridge. I would play the unsuspecting Germans in this fight and John would be the US Airborne platoon leader.
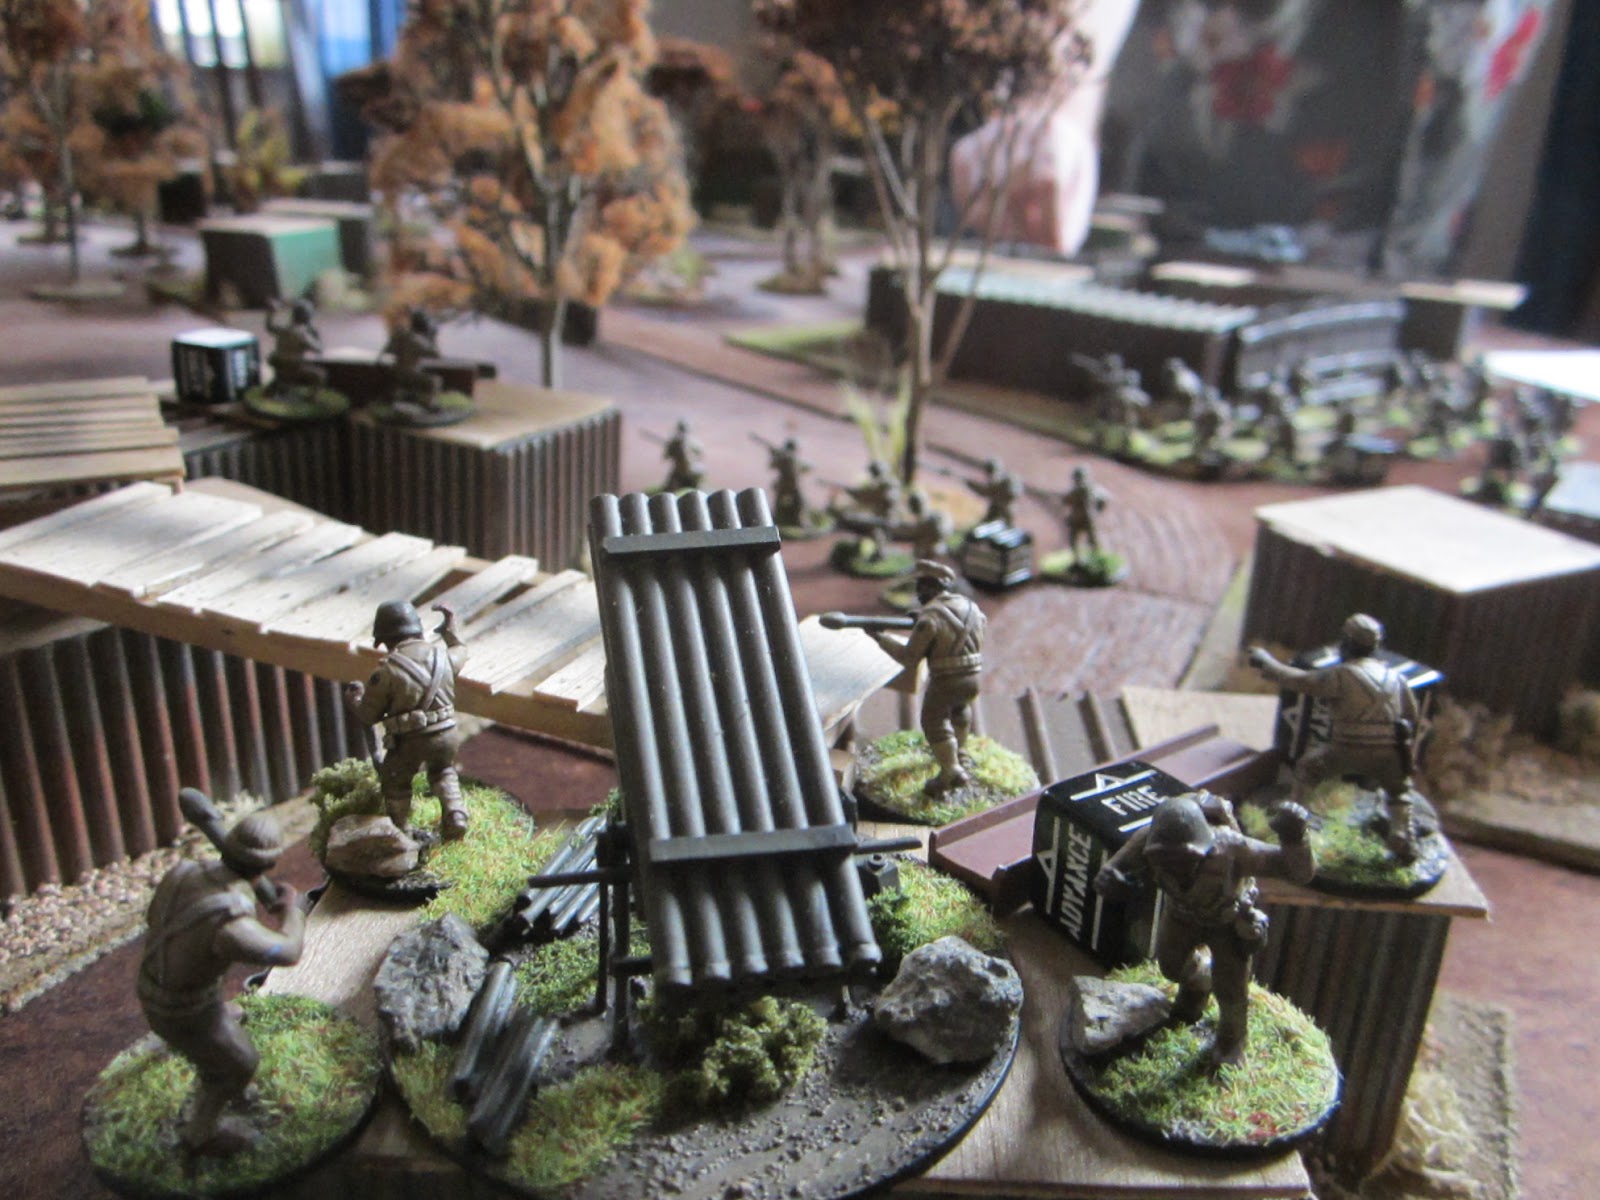
My forces were a platoon leader, three squads of dismounted infantry, one squad of mechanized infantry with a Hanomag half track, a forward observer, and two Panzer IV-F tanks. I also had an anti tank gun site down the road, but without crew it was largely yard art.
John's platoon included a lieutenant, four infantry squads, two MMG teams, a bazooka team, a towed AT gun, an MMG jeep, and a forward observer. I think he also had a light mortar team, but they didn't survive the jump.
The game started in the pre-dawn darkness. I arrayed my forces the way they likely would have been for steady-state security operations. This meant that they would be on a rotational duty cycle as opposed to a 100% stand-to readiness condition. To represent this I placed one of the three infantry squads forward of the bridge on a security patrol, and one of the two tanks on overwatch of the bridge. The other two infantry squads were asleep in one of the large buildings. The mechanized infantry squad (with their half track) represented a reaction force, so they were asleep in a second large building. The platoon leader and the FO were asleep in the third, smaller building. The second tank and the half-track were staged behind the buildings in an orchard in an effort to hide them from allied reconnaissance and ground attack aircraft.
Here is the battle area looking south from the landing beaches toward the bridge. You can just see my patrolling squad in the lower right at the corner of the woods. Quiet night, routine patrol....
Looking north toward the bridge, you can see my on-duty tank under the tree on the right, while the off-duty tank and half-track are parked in the orchard in the low left-center. The reaction force is sleeping in the building in the lower-center while the platoon leader and forward observer are sleeping in the small building just north of the orchard. The two remaining squads are sleeping in the building just to the north, across the road from the platoon leader and FO.
We decided that my forces would enter as reserves (-1) to reflect the surprise of vertical envelopment by paratroopers.
Speaking of the paratroopers, we talked a bunch about a good deployment mechanic. We briefly considered using the Warlord mechanic of a scatter roll, but opted instead for a more physical and literal parachute mechanic. Since US Airborne really doesn't do the coup-de-main thing, we decided that their drop zone would have generally been situated to the north-east of their objective (the bridge). But since US airborne were notoriously dropped everywhere but their drop zones, John came up with the following mechanic: tiny parachutes.
Starting over the north east corner and continuing in a straight-ish line all the way along the long axis of the battle area, john dropped tiny parachutes about every 12 inches. The parachutes were made from string and paper napkins and were weighted with wood chips. Wherever the parachutes fell to the table represented a unit landing spot. He started with his platoon leader, of course, and then just went down his list.
We were both a little skeptical about how well this would work. It turned out to be one of the more fun and realistic game mechanics we have ever played with. Definitely recalled childhood memories of playing with those plastic toy paratroopers you could buy in the toy section at a drugstore. Very fun.
John's platoon leader drops in:
Great landing. Good spot to establish an attack position from which to assault the bridge.
Next up was an infantry squad.
Uh-oh...
That squad landed right next to my patrolling infantry. We decided that, because of the darkness, any unit landing more than 24" away from a German unit would be un-detected. We didn't know exactly how we would handle detection, but since these guys practically landed on top of the Germans, we figured we didn't have to roll for spotting this time.
So it went. One squad landed in the creek.
The ill-fated FO landed right amongst the buildings full of sleeping Germans.
Beyond the sight of my tank, john extricates a parachute from the trees. Landing in the woods cost John his light mortar team (d3 wounds).
Another tree landing (nearly on-top of the house with two sleeping infantry squads) claims one MMG crew member.
Another instance of not needing to roll to spot-the second MMG team lands, quite literally, on top of the on-duty tank. They promptly lost two crew members of the MMG team.
And then there was the bazooka team, who landed right in front of the on-duty tank. This would go badly for someone.
The remainder of John's forces were jeeps (MMG and AT gun), so they entered the board along the roads to the north where they would have landed by glider.
So here's how the battle kicked-off. In the north, John's forces close on my patrol near the crossroads.
In the center, he has two squads already in possession of the bridge. While in the south he has two MMG teams and a bazooka team in the vicinity of the buildings and one very alert tank crew.
And finally, lest we forget, his FO, lying in the street, right in the middle of a sleeping horde of Germans who were just about to wake to the sound of gunfire from the patrol and the tank.
Things kicked off in the north with my patrol lighting up the paratroopers that landed at the crossroads and causing a couple of casualties. John then returned fire and moved his jeeps onto the table right next to my patrol-hitting them for a pin marker. In the south the tank opened-up on the MMG team point blank, but failed to kill the single remaining gunner. The bazooka team, terrified from landing face-to-face with a Panzer IV, froze and failed their activation order.
My patrol shot-up the jeep towing the AT gun, and then took some withering fire from two squads of paratroops and jeep-mounted MMG. The pin markers started to pile on.
The fight at the crossroads became a pretty decisive engagement as John maneuvered several units to deal with the German patrol. And there was Scotch.
In the south, the German platoon leader dashed-out of his hut and was astonished to see a US paratrooper in the street, so he ran around to the back of the house to wake the crews of the tank and half-track parked there. The US FO, realizing that the rest of his war would be pretty brief, dashed forward to disable the AT gun aimed straight down the road. This was his single contribution to the war effort, as he was thereafter quickly dealt with by the Panzer IV and Hanomag.
On the east side of the village, the on-duty tank made short work of the MMG and bazooka team (the latter of which failed their activation roll not once, but twice).
But in spite of all this shooting, the infantry squads in the buildings sleep soundly through the first three turns. After the third turn we decided that the sun had come up enough to provide illumination throughout the battlefield.
In the center, John's paratroopers prepare to hold the bridge at all costs.
After some intense hand-to-hand combat that eliminated the AT gun crew and reduced the patrol to a single LMG gunner, things start to go the Americans' way up at the crossroads.
One of the sleeping infantry squads finally wakes up, but opts to stay indoors after spotting this US MMG team sighted in on their front door.
The mechanized infantry reaction force finally gets out of bed and assembles behind their building with their half track.
An abandoned AT gun marks the spot of the furious fight for the crossroads as John's forces move south toward the bridge.
The Germans counter-attack! I advanced one tank to the stone wall to provide overwatch, while lining my forces up on the main road behind the other tank. This column would assault the bridge, with the mechanized infantry getting the task to cross the bridge and secure the far side.
My lead tank attempts to run-over the US paratroopers in the road. They all make their morale checks, though, and simply step aside, leaving the jeep crew to face a really uncomfortable situation.
And then it happened. Faced with another desperate situation, John had to decide whether to preserve his force or accomplish his mission. In what is becoming his go-to move, John meets my attack with an attack of his own. Here you can see his squads advancing on my tanks.
Two words: anti-tank grenades. OK, that's technically three words, but you can see the result below. Two dead tanks.
My infantry squads mixed it up with John's, and were subsequently eliminated along with their platoon leader, but not before they did a lot of damage to the US paratroopers.
The rest of the game was a pretty straight-forward mop-up operation for my mechanized infantry squad. They dealt with the remaining paratroopers pretty decisively, leaving john with a single MMG jeep who, unable to go toe-to-toe with the mech infantry squad, retreated back to the American DZ.
Another fantastic game of Bolt Action. I'll claim a marginal victory in this one since the Germans still retain the bridge, but with two tanks and an infantry platoon destroyed, my ability to hold the bridge without reinforcements is pretty tenuous.
The parachute landing mechanic is here to stay. It combines good randomized landings with a really fun and playful mechanic that evokes youthful days spent playing with toy soldiers. The more things change, the more they stay the same. Stay young at heart.