Showing posts with label Paint. Show all posts

Tuesday, August 4, 2015

WIP: Virtue for the 2015 NOVA Narrative

NOVA 2015 is fast approaching, so it is high time I got to work painting the exciting new Virtue model created for the NOVA Narrative.  Thanks Mike!

Cleaning the model did not go well, as I uncovered a gaping air pocket in the human's head as I scraped off mold lines.  Unfortunately, the resulting hole obliterated the model's right eye, which is beyond my sculpting skills to repair, so I am just going to proceed and pretend it is not there (and take pictures from the left side).

I am going to use an additive layering technique for this model, which is something I have not tried since I was a kid.  We will see whether my application of the technique has improved at all over time.

I started the model off with the basic palate of blue and brown undercoats and will build from here.  I want the human to represent, literally, earth (his warm palate will blend with the earth tones planned for the base) while the Virtue warrior will provide a cold contrast of blue and silver metallics to signify the other-worldliness of the Virtue.

Here's the model with the undercoat.
Primer: P3 spray white
Virtue: P3 Coal Black/water/flow enhancer 4:2:2
Human: P3 Umbral Umber/water/flow enhancer 6:3:1


Updated picture: 6 August, basecoat
All paints diluted 50% with water.
Virtue armor plates: P3 Pig Iron
Human uniform fabric: P3 Thornwood Green
Human armor plates: P3 Cryx Bane Base
Human pouches and straps: P3 Cryx Bane Highlight

Updated picture 13 August, highlights and finish
Virtue-
Armor highlight 1: Reaper Honed Steel
Armor highlight 2: Vallejo Model Color Silver
Armor finish: Very dilute glaze of P3 Coal Black with additional coats in shaded areas.  Went back and hit select plates with silver over the glaze to add some variety and movement to the plates.

Human-
Uniform highlight: P3 Gun Corps Brown
Armor highlight: P3 Traitor Green
Pouch and Straps highlight: P3 Trollblood Highlight
Flesh: P3 Midlund Flesh with Citadel Leviathan Purple wash
Hair: Citadel Chestnut Wash Ink

The base is a mess of Secret Weapon pigments fixed with mineral spirit.  Violet pigment on the bottom and in the cracks; my own mix of dark green pigment on the slate tiles; yellow, clay, and bright sand pigment on the pillars.

This may be as far as I get with this one.  If I have time I will touch up the base and add some icons to the Human's armor, but I'm probably going to call this done and move on to another looooong neglected project.


Updated update...I had to fix that base...


Saturday, February 14, 2015

WIP Update: Models for the Tobruk 1941 Game

 Here's the latest round of models for the Tobruk 1941 game coming up.  I painted Warlord 4 Panzer IV models for the DAK team as well as a captured Warlord 222 models to go with the captured Italian tanks for the Aussie team.

They turned out OK.  Some of the weathering and rust is a little ham-handed.  Some of the dirt effects on the road wheels looks pretty good.  Overall, though, they should look respectable on the tabletop.


Monday, September 15, 2014

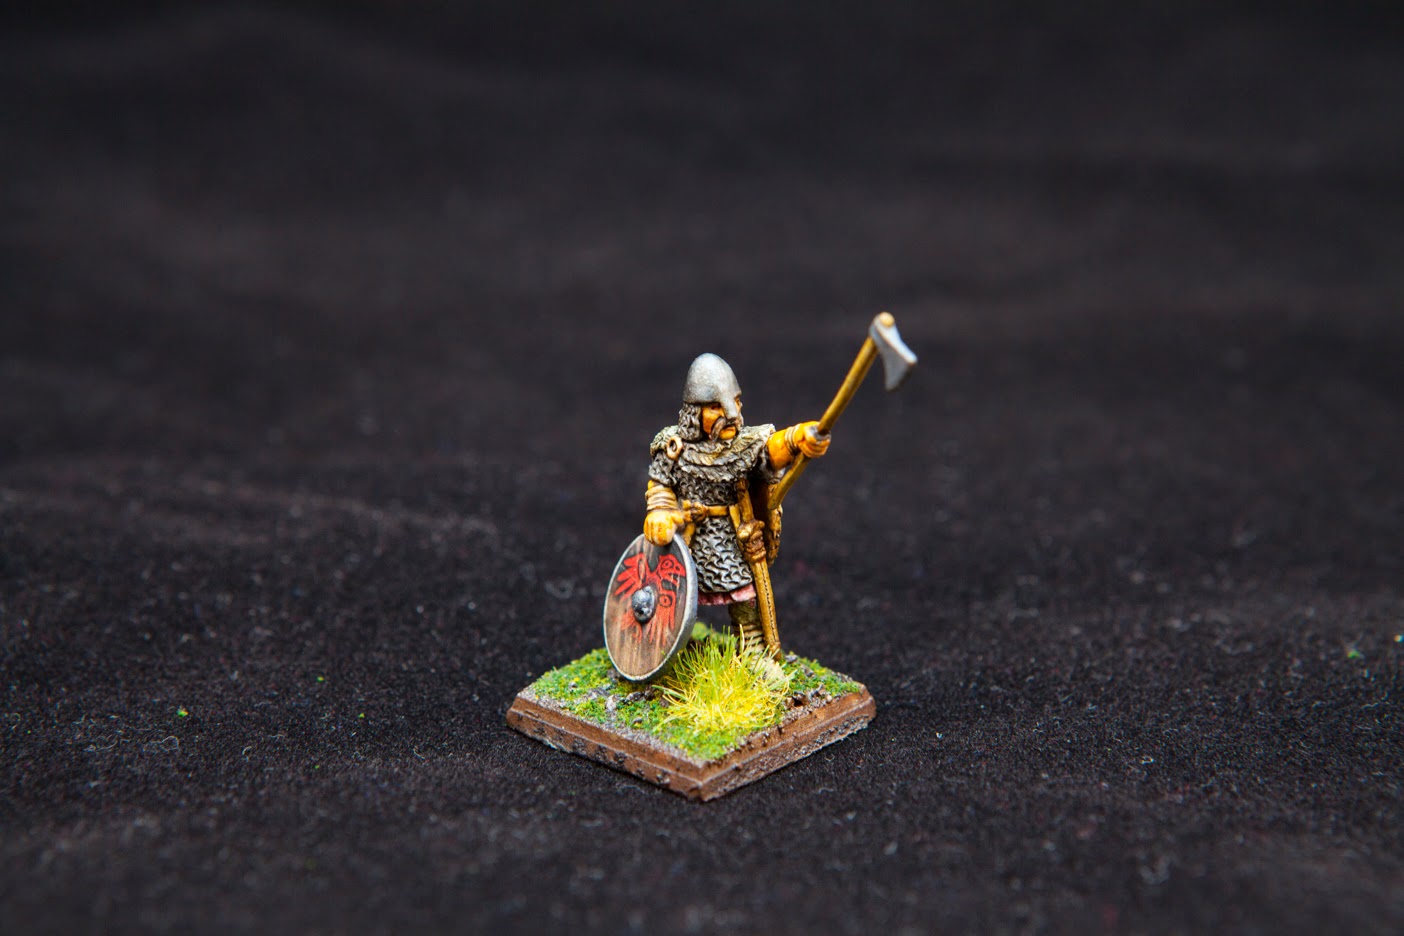
My Winning Miniatures from the NOVA Open Capital Palette


This Northumbrian Earl took bronze in the Historical Single Miniature category


And these Orks took silver in the Sci-Fi Collection category


Many thanks to Mike Schaefer for running a great event.  Huge congratulations to John Stiening for his awesome Best in Show.  Oh hell, screw the link, just look at this thing:

Sunday, September 14, 2014

WIP Late War German Infantry, A Cautionary Tale

I'm starting work on my Bolt Action models with the hope that I can get some of the guys together for a demo game in a couple of weeks.  I have been talking up the game in a big way, so I am excited to get some models on the tabletop.

I started with German infantry.  After cleaning and assembling the models, I primed them using P3 white spray primer.  I can say that this is the best spray primer I have used so far.

Because these will be late war Germans, I wanted to ensure that I got the right shade for their uniforms.  Late war German field grey uniforms generally had a more brownish appearance than the blue grey uniforms of the early war period.  To capture this I mixed 1.5 parts Secret Weapon Blue Black Wash with 1 part Secret Weapon Concrete Wash and painted the uniforms with the wash mix.
I then mixed 3 parts Vallejo Sombre Grey Game Color acrylic paint with 1 part Vallejo Heavy Charcoal Game Color acrylic paint and then diluted that mix 2:1 with water.  I then painted the helmets with this mix.
So far so good.

The next step was to apply a black oil wash over the base coat uniform.  I prefer oil washes to acrylic washes because the capillary action seems more even (acrylic washes succumb to gravity more than oils) and pooling is easier to clean up.  Here is how the technique works: I put a dime-sized dollop of Rembrandt Ivory Black paint in the bottom of a shot glass and thin it with about an ounce of mineral spirits.  It takes a lot of stirring to dissolve the paint in the thinner-several minutes-so make sure you get all the lumps of paint out.  I then put another splash of thinner in a second shot glass.  I wash the basecoat and then use a paintbrush or q-tip dipped in the clean thinner to clean the pooling wash off high points (and any other places I don't want it). The result is more even blacklining, less gross pooling in low spots, and subtle shading. 


Except things didn't go so well this time.  I have used this technique before to good effect, but this time things went wrong.  When I applied the wash, it became clear that the acrylic was was either not completely dry, or did not completely bond with or cover the enamel primer.  The thinner started to dissolve the primer, causing a faint milkiness to seep through the basecoat in a couple of places.  I wasn't too concerned about this, as these are army pieces, not show pieces, and I hoped that the milky wash would darken and blend with the field gray/black wash as it dried.  I finished washing the models, being careful to dab the wash onto the surface (instead of painting the wash across the surface) and then then turned to the clear thinner to clean up the high points.  Here's how things looked at this point:


I should have anticipated the ensuing catastrophe.  I'm sure you astute artists out there already know what I am about to write.

Because the thinner had already started to soften the primer underneath the basecoat, the first time I swiped the brush loaded with clean thinner across a model, it took the primer and basecoat off with it.  You can see my handiwork in the picture below.  The model in the upper left has a huge gouge in the top of his helmet, while the model on the lower right has lost a large chunk of paint from the top of his outstretched arm. The model on the upper right shows some of the primer bleeding through the basecoat of his tunic on his left hip.


Brushes down.  Walk away.  Take stock.  Make a recovery plan.  Prevent a repeat.

I have used this technique before, but with acrylic paint, not washes.  That said, I painted the helmets with paint, and they were affected just like the basecoat of wash.  The one thing that is different this time is that I only waited about an hour (maybe less) between applying the basecoats and then the oil wash.  When I have used this technique in the past, I have adhered to my hard and fast rule of waiting 24 hours for an acrylic layer to bond and dry fully before painting any effects over the top.  This time, I am speculating that the acrylic had not bonded to the enamel primer, allowing the thinner to seep through and dissolve the primer.  For the next batch of soldiers, I will repeat the process with a full day between acrylic basecoat and oil wash.

As for repairing the damage to these guys, I will try to remove the basecoat and primer from the affected areas (helmet and arm) and then re-paint them.  If the milky areas don't blend I will probably just reapply a field gray wash over them to darken them sufficiently so that they won't stand out in a crowd.

I'll let you know how it goes.

Monday, September 1, 2014

I Won Silver!

I've always felt that there was something special about these models, and, apparently, so did the judges at the NOVA Open Capital Palette painting competition this weekend.

My Ork Warboss and his retinue earned me a Silver in the Science Fiction Collection category.  My first ever painting award!  Thanks to the Capital Palette and the judges for a great competition and a huge honor.

I also took home a bronze in the Historical Single Miniature category.  More photos will follow.

Already planning for next year....


Friday, August 15, 2014

Dark Angels Terminator Chaplain Step-by-Step Painting Guide

With the 2014 NOVA Open right around the corner, I think I will spend the next couple of posts showing off last year's army.  Dark Angels.

If you have not registered yet, do so now.  It is one of the biggest and funnest Sci-Fi miniature gaming conventions on the East Coast.  NOVA happens every year over Labor Day weekend in the Washington DC area.

I can especially recommend the Narrative campaign.  There are still a couple of slots available, so if you want to take part in a unique and on-going struggle for Earth and our solar system, register today.

But back to the Dark Angels I took to the 2013 NOVA Open.

First up, here is a step-by-step look at the Terminator Chaplain:

Step 1: Prime the whole model white and base-coat the armor and any steel-colored metal dark gray.  Leave some of the armor white so you can paint some dark green later in order to provide some Dark Angel-ness to the paint scheme.  I chose the "halo" around the head, the storm bolter (not pictured yet), and the grip for the Crozius Arcanum (not pictured yet).  Cheatin' Steve's Painting Tip: I used Vallejo  Game Color Sombre Grey diluted to 2 drops of paint to 1 drop of water (2:1).


 Step 2:  First, go back and basecoat that chain in front that you forgot to paint in Step 1.  Now, cover all dark gray with black wash (Secret Weapon Washes Heavy Black undiluted).  Next basecoat all gold metal, parchment, and bone intense brown (Vallejo Beasty Brown diluted 2:1).  Next basecoat all red (Vallejo Gory Red undiluted).  Next, basecoat green areas as discussed in step 1 Vallejo Heavy Blackgreen diluted 2:1).


Step 3: Paint all paper with tan, leaving the brown showing in rips and between sheets (Citadel Kommando Khaki undiluted).  Shade the purity seals and the eyes Secret Weapon Drying Blood).  Shade the green (Citadel Leviathan Purple.  If you can find any of this wash anywhere, buy it, it is fantastic.  Their re-tooled purple wash is shit.)


Step 4: Paint skull tan, leaving brown showing in joints, between teeth, and in recesses (Citadel Kommando Khaki undiluted)


Step 5: Paint parchment white, leaving darker colors to show in rips, recesses/folds, and between sheets (Aleen's Premium-Coat Titanium White diluted 1:1, use multiple layers on highlights).  Paint the skull bone white leaving dark paint showing in the joints, between the teeth, and in recesses (Vallejo Bonewhite 2:1, use multiple layers on highlights)


Step 6:  Before I start here, let me put in a plug for the the best gold metallic paint I have encountered in over 30 years of painting: Aleene's Premium Coat.  I have no idea of the specific paint color, as my label is printed "Light Fuchsia." I dont even know if you can get it anymore.  Here is what the bottle looks like:

I got it at an an arts and crafts store in Seattle back in 2001, and am only about half-way through the bottle.  You need to dilute it a lot, and it looks really granular going on, but when it dries it will give you a rich, deep, luminous gold coat that kicks ass on any other gold metallic out there (including those Citadel metals).  If you can find it, buy it.  Then post a comment letting me know what the actual color is!

So, back to the Chappy: Paint the gold (Aleene's "Light Fuchsia" about 1.5:1-dilute until the acrylic medium starts to show 'milky' as you blend the paint.  It will look really bad on your palette and while it is wet on the model, but once it dries you will be psyched).  Next, paint steel metal (Citadel Boltgun undiluted).


Step 7: Shade the parchment (Secret Weapon Parchment Wash).  Shade the skull (Secret Weapon Armor Wash diluted at least 1:1).  Shade the gold and steel (Secret Weapon Armor Wash).


Step 7: Highlights and details.  Highlight gold with original gold color.  Highlight steel with light steel or silver (Reaper Honed Steel undiluted).  Highlight black with dark gray and light gray for the highpoints.  I did the three gemstones using the technique that was originally described in White Dwarf a couple of decades ago.  I assume it is in the Citadel painting guide now.  I may describe that technique in another post, but you can probably find it described somewhere in the interwebs.  Finally, I used Secret Weapon Wash Storm Cloud for verdigris on the Crozius and Censers.  You can see it "pooled up" in the next three pics.

For the script I used black paint diluted 2:1.  This did not produce good results.  In later models I have used black ink undiluted or diluted 3:1 or so to much better effect.  Paint is just too thick.


 Here's How my Chaplain Warlord looked at NOVA last year.