Been looking forward to this battle report for a while. I'm not going to capture the whole fight in detail, but I will relay the critical bits that I saw as the GM.
This past weekend our gaming group played a North Africa scenario on the
table that
John and I built over the past few weeks. At the risk of sounding self-congratulatory, the table looked really good and I was eagerly anticipating this game.
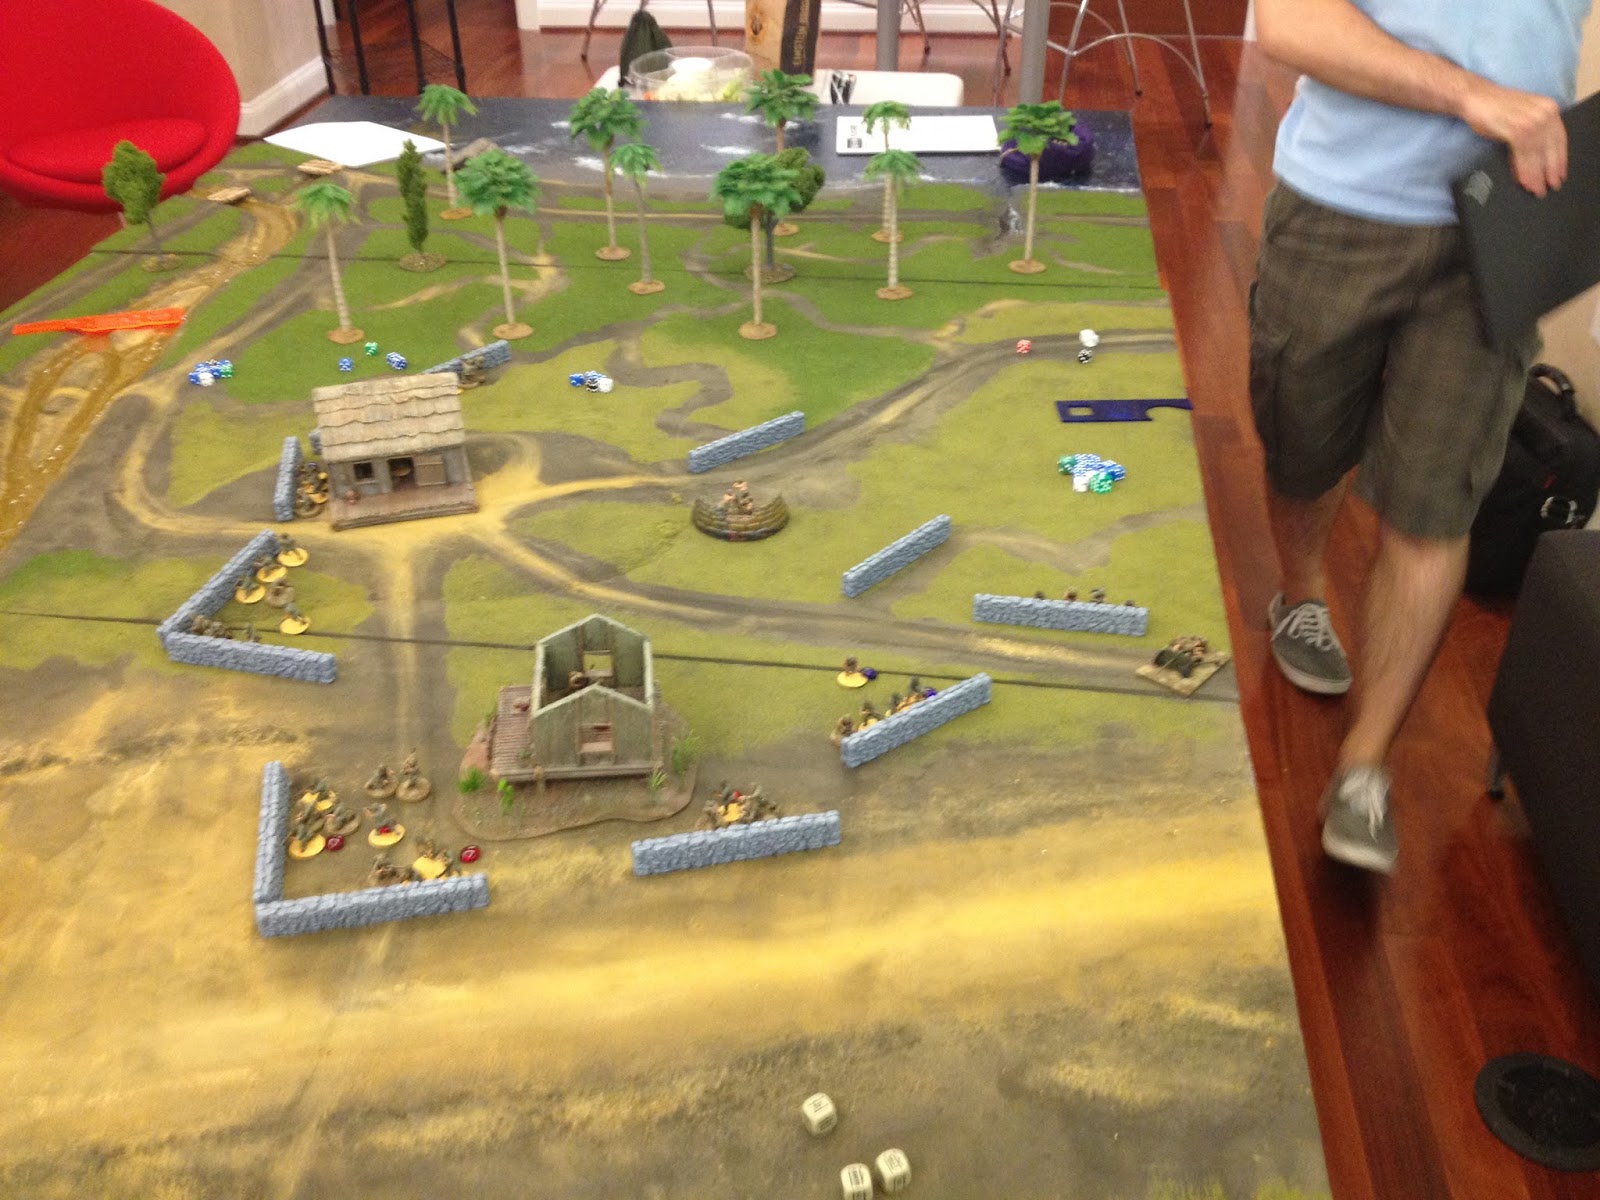
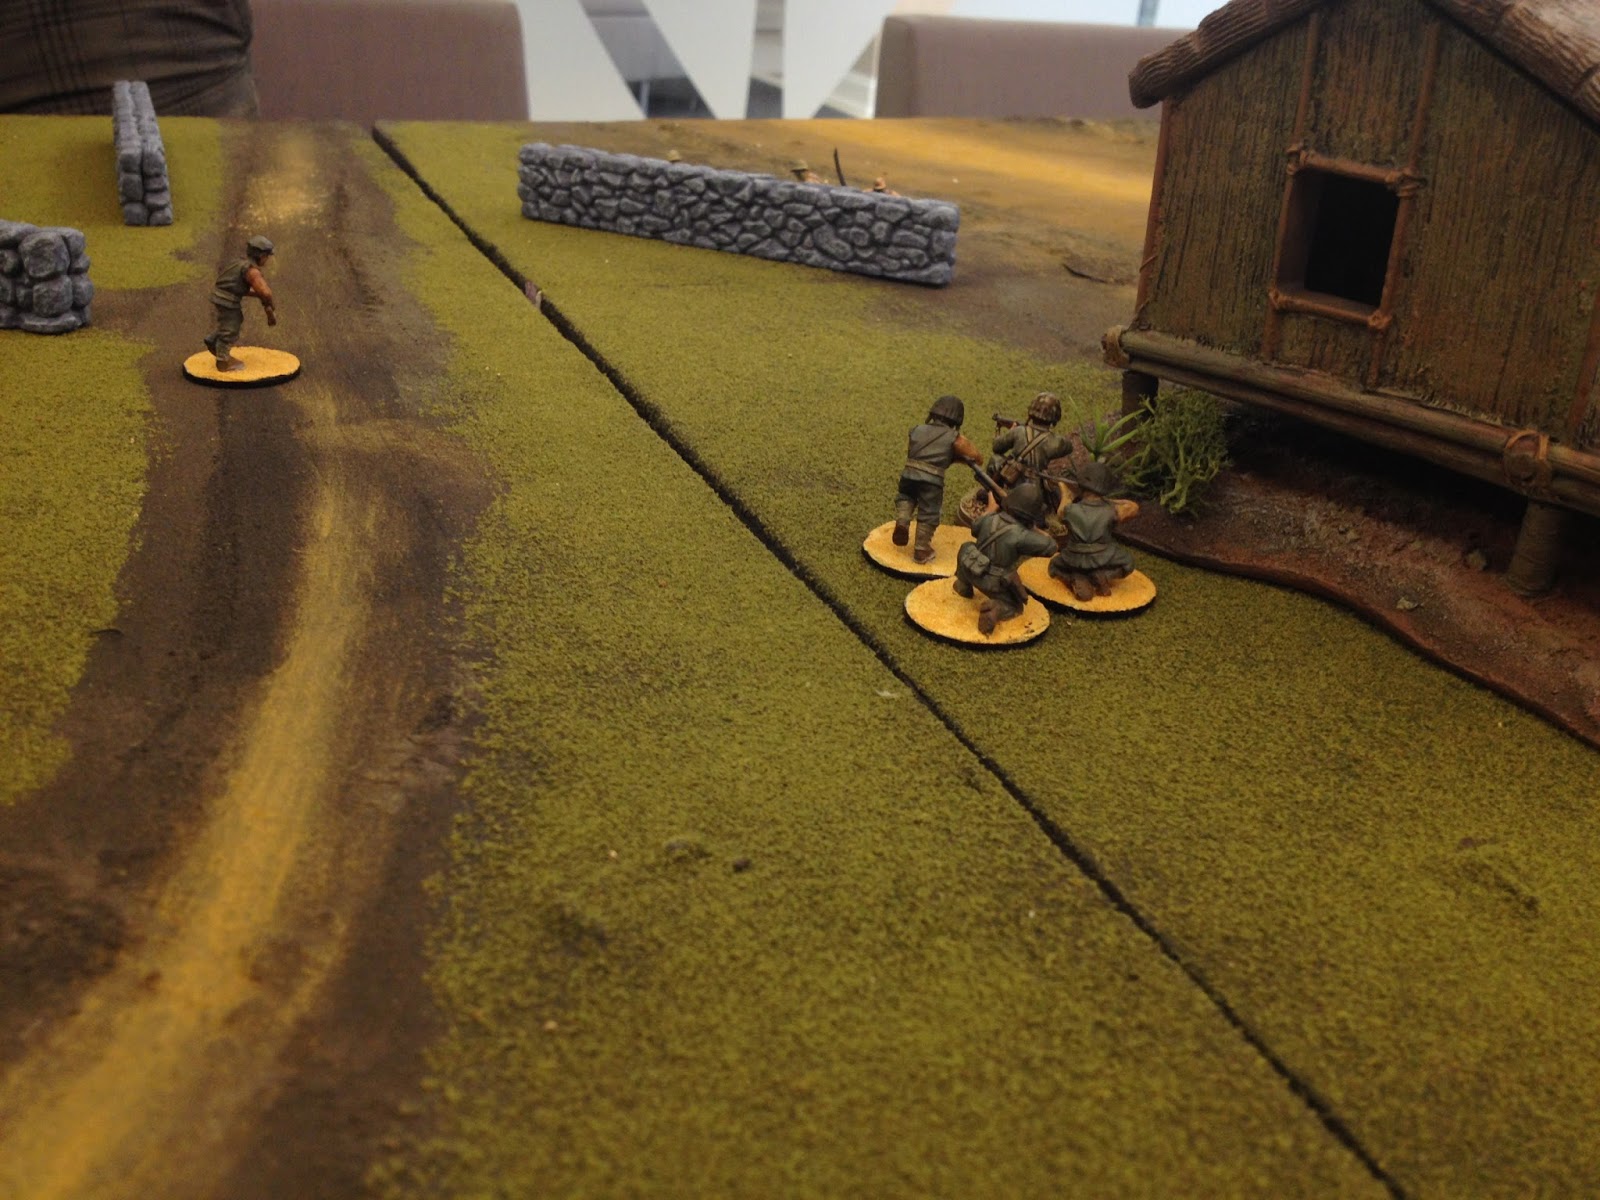
Here are some shots of the table set-up for the game. The South Africans would enter and advance from the high ground on the left of the photo. Their objective was the port on the right side of the photo.
We used a scenario generally based on the 8th Army assault against the besieged Deutsches Afrika Korps garrison in the small frontier port of Sollum in January 1942. It was one of the final acts of Operation Crusader. Our scenario was designed to capture the flavor of a small, desperate force trying to hold out against a larger attacking force.
The defenders represented a single platoon from the 300th Oasis Reserve Battalion defending in urban terrain.
Their mission was to interdict the 8th Army forces attacking toward the port. The DAK platoon was comprised of a platoon HQ and four infantry squads:
HQ:
Veteran 1st Lieutenant
1 Veteran Rifleman
2 Veterans with SMGs
1 Veteran Light Mortar Team
1st Squad:
Veteran NCO w/ SMG
2 Veteran LMG teams
3 Veteran Riflemen
2nd Squad:
Veteran NCO w/ SMG
Veteran LMG Team
5 Veteran Riflemen
3rd Squad:
Veteran NCO w/ SMG
Veteran LMG Team
5 Veteran Riflemen
4th Squad
Veteran NCO w/ SMG
Veteran w/ SMG
Veteran LMG Team
4 Veteran Riflemen
The DAK team consisted of one assistant GM acting as the Platoon Commander and four players, each taking the role of a Squad Leader.

To enable the kind of game play intended for this scenario we gave the DAK some game-specific special rules. Each DAK player could break his squad into any number of 2-4 man teams. Each of these teams would generate an activation die (this was the fundamental mechanic we used to balance the difference in activation dice between the South African company and the DAK platoon). Each 2-4 man team had special rules that allowed them to move quickly and unseen around the game board. In addition, 2-man rifle teams gained the sniper special rule (24" range) and also had the ability to snipe the enemy with a low chance of being detected. Finally, small teams were allowed to break contact, which gave them the chance to shoot first, and then run away using an ADVANCE order. The intent was to create a defense force that lacked mass, but maximized mobility, protection (buildings), and surprise. A "death from a thousand paper cuts" kind of approach.
Which is exactly what the DAK team planned. They devised a scheme with three squads forward and one in reserve with the platoon HQ. The forward squads would engage and then break contact to fall back toward the port, sniping the enemy as they withdrew.
On the other side of the board was a company from the 6th Infantry Brigade, South Africa.
The mission of the South Africans was to clear a route through Sollum to the port to enable the Brigade main effort (in this case a company of Valentine tanks) to assault and seize the port. In an effort to balance the nimble, unseen, and hard-to-kill snipers of the DAK defenders, we gave the South Africans an "Overwatch" special rule. This allowed them to use an AMBUSH order to focus on a specific target area no more than 6" in width. If an enemy unit fired from or moved within the target area, the Overwatching unit got to fire at that target, adding +1d6 to hit for each weapon shooting. This rule was intended to give the South Africans powerful "hammer" to use against the "thumbtacks" of the small DAK teams.
The attackers were broken into a company headquarters and three platoons. The company commander would be played by an assistant GM, and the platoons would each be controlled by a player. In addition to the infantry company, we also added a tank company to represent the brigade main effort, positioned to roll into town as soon as the infantry cleared the way for them. The tank company was controlled by two GMs, and would not actually engage in this scenario (though it was this GM's hope that the tanks' presence would frustrate the South African players, much like that scene at the end of
A Bridge Too Far where MAJ Cook berates a XXX Corps tank officer for refusing to enter Arnhem).
Company HQ:
Captain
3 LMG Teams
Engineer Section (attached)
Morris Truck
3xInfantry Platoons:
HQ (2nd Lieutenant, Rifleman, Light Mortar, AT Rifle)
2x Squads (NCO w/ SMG; LMG team; 8 Riflemen)
The South Africans devised a radical plan to accomplish their task. Instead of advancing along the intercoastal highway (as tasked in their order), they planned a sweeping maneuver around the outskirts of the city followed by a penetrating assault straight through to the port. Casey's platoon would provide support-by-fire while Mike's platoon conducted the assault. Dan's platoon would escort the engineers to deal with obstacles following the assault. Rhett task-organized the company to best accomplish their assignments, loading Casey down with LMG teams and giving Mike a ton of riflemen to use in the assaults. He would need them. Dan had an economy of force with one squad (plus PLT HQ) to escort the engineers.
Rhett also consolidated the mortars into the company HQ, which proved critical to success as the assault proceeded.
Below, the battle begins with a toast between Mike and Dan while Casey moves his forces onto the board. You can see the tanks of the brigade main effort on the left. It didn't take long for their presence and inaction to frustrate the attackers. Heh, heh.
Dan moves his breaching element onto the board while Mike fortifies himself for the assaults ahead.
Mike moves his platoon to his right flank to position for the assault.
South African infantry advancing down the escarpment toward the town.
It was right around here when Drew took the first shot of the game, dropping Casey's lieutenant with an undetected sniper shot.
Mike continues to shift his platoon to his right.
Rhett, the South African company commander and assistant GM, reacts to one of his lieutenant's requesting additional forces. At least that's how I'm imagining this scene.
The South Africans are poised to start the assault. Mike's forces are mobbed up on his right (our left). Casey's forces are slightly forward in the center, providing overwatch. Dan's forces are still on the escarpment in an attempt to keep the engineers (in the truck) safe until they are needed. Drew's snipers, now visible in the center building, prepare to break contact.
At this point the DAK started to increase the volume of their sniper fire. Here is how we handled all the hidden setup and movement on the DAK side:
This is a screened battle board with the buildings drawn onto it. The DAK team used it to maneuver their hidden units. If you try this mechanic, which works well, I recommend numbering the buildings so the DAK GM can call-out the overall GM where the shots are coming from. We spent a lot of time going back-and-forth between the table and the DAK battle board to make sure we understood what was going on. The buildings with dark outlines are sewer nodes, which DAK forces could use to redeploy quickly from one part of the battle to another.
Below, the DAK snipers are forcing the South Africans to seek cover. What the DAK commander wouldn't give for an air strike right about now.
Gavin and Sean started to pour in sniper and LMG fire from the right of the DAK defensive line, drawing the attention of Dan and Casey. Drew continued to pepper Mike's advancing assault force form the DAK left, and then suddenly the South Africans were all up in the DAK's grill.
In the picture below, Mike's assault on the right sweeps Drew's DAK teams out of the front line of buildings. On the left the South African commander uses smoke from his mortars to screen a secondary attack by Dan and Casey into the town.
The DAK were caught flat-footed by the SA assault and several sniper teams died before they could break contact. The effective use of smoke by the South Africans allowed assaulting forces to penetrate deep into the town. On the DAK right flank, Gavin sprung an ambush on one of Casey's squads, while Dan, in turn, plastered Gavin's ambush with an overwatching squad. Sean did a lot of shooting and running around, which concerned the South Africans hardly at all. Bad dice.
But the DAK defenders recovered and fought back hard. Keith and Drew annihilated one of Mike's squads as they assaulted their final objective without the benefit of obscuring smoke. Birger dropped a perfect mortar shot and totally disrupted the South African attack through the center of the town. Mike's final squad made an assault, away from the company objective and across the town center, and got cut down by one of Gavin's teams. With Mike's platoon down, Casey and Dan assumed the assault role, with only marginally better results. Using the sewers to redeploy undetected, Keith, Birger, and Gavin surprised the South Africans' second assault against the "hotel" with three times as many defenders as they expected to find. This move caused more than a couple of "WTF" reactions from the South African players. Thing of beauty.
Here, The
South Africans' last assault squads are poised to continue their rampage onto the "hotel" that became the de facto final
objective for both sides. They are about to discover that there are more DAK defenders inside than the two dudes on the ledge.

In the end, the South Africans succeeded in gaining control of the hotel, but at a terrible cost; only 2 of their 9 infantry squads remained combat effective, and the remnants of the assault were in danger of being isolated deep inside the town. Meanwhile, Dan's engineers were able to remove a couple of obstacles, but they started to take losses from DAK snipers still hidden throughout the town and would be unable to continue until additional infantry arrive to provide security for the breaching operations. The South African commander would have had no choice at the end but to request reinforcements so he could fight his way back into the city to extract the remnants of his company before they got cut off entirely. Meanwhile, the brigade main effort is backed-up on the intercoastal highway, unable to proceed until the route is cleared of mines and anti-tank obstacles. The impending conversation between the South African company commander and the battalion and brigade commanders will not likely go well.
On the DAK side, they were severely bent, but not broken. Each of their 4 squads took substantial losses. Although there was not much fight left in them, they still possessed a few key weapon systems in good positions. They would be able to prevent the existing South African forces from breaching any more obstacles, and might succeed in isolating and destroying the remnants of the assault element in the hotel, but another company attack would likely prove too much for them without diverting reinforcements from another part of the town.
Both commanders will have some tough decisions to ponder tonight as they prepare for the next battle.
Below you can see the remnants of Dan's lone infantry squad on the South African objective at the end of the game while a nearby DAK squad prepares to cut them off from their comrades. Dan's other squad, the engineers, remained behind (and unprotected!) to try to locate and remove mines on their own. They quickly learned that the DAK still had weapon systems covering the obstacles. One of Casey's squads is deployed in the background outside the town, while his last remaining squad is barely visible on the building to the far right of the picture. Behind them, you can just make out the radio operator from the South African company HQ behind a building. The square panels represent minefields, which the South Africans hilariously (for me at least) managed to avoid against all odds during the game.

This shot says it all. Lots of intact obstacles on the road to the port with some lonely engineers in the backgroud, while the brigade main effort sits stalled on the highway in the distance. It will take another company attack to rescue the remnants of the attack, and still another to clear the route, though the DAK resistance against follow on attacks will be greatly reduced.

This was a fantastic game. Both teams enjoyed some degree of success. While the South Africans failed to accomplish the mission assigned to them, the manner in which they executed their own rogue plan was pretty well-done, and they deserve some credit for that, at least. Their coordination of direct and indirect fire support and obscuration allowed the assault element to get on top of the DAK defenders before they could initiate their withdrawal. On the DAK side, redeploying teams to critical points late in the game allowed them to slow and disrupt the South African attack. The DAK almost blew it early by waiting too long to reposition their forward squads, but they had just enough
Schlitz left at the end of the game to force the South African brigade commander to change his plan. Tactical success for the South Africans, operational success for the DAK. The 8th Army will have to divert resources to complete this mission.
There was a lot more to it than that, and I'm sure I do not have all
of the facts straight, but this report gives you a general picture of
how the game went down. Bottom line, by cheating/breaking/making rules to fit this
specific scenario, the GMs gave the players a format that allowed for some
fun and dynamic play between two severely imbalanced force
organizations. Going by Bolt Action army composition values, the attackers enjoyed a better than 2:1 point advantage (not counting the tanks). After seeing the way this game went down, I would go back to a 3:2 point advantage for the attacker. A couple of dismally unlikely assault rolls at the end of the game prevented the South Africans from sweeping the DAK off the table, resulting instead in the annihilation of Mike's platoon. So as a GM, I got lucky with the way it worked out.
Great game, Gentlemen.