Showing posts with label Wargame. Show all posts

Tuesday, September 27, 2016

Market Garden Campaign, Game 1 "September Snow: Arnhem"

Our gaming club ran a pretty neat game this past weekend using the opening fight for Arnhem on 17-18 September 1944 as the scenario.  I was the GM and John and Richard provided very high quality models for it.  Special mention must go to John's scratch-built table, which is without a doubt the best urban table I have played on in all my years.  It was super fun.

Richard provided a good write-up and some bangin' in-situ wargame photos over at his blog, here.

The game had two parts.  Part one (17 September 1944) was done on-line with the attacking team planning the routes and rate of march for the battalions of 1sts Para Brigade, along with the mounted reconnaissance squadron, from the landing zone to the bridge.  The defenders, meanwhile, developed a concept for Kampfgruppe Kraft in their initial defense west of Arnhem.


The results of this initial phase were interesting in several ways.  First, John Frost and 2nd Battalion never made it to the bridge, ending up (along with 1st battalion) on the eastern side of Oosterbeek, blocked by two companies of SS NCO students.  On the other hand, the reconnaissance squadron managed to avoid contact and made it to secure the Arnhem bridge (and this next part is really important for the campaign) before the 9th Pzr reconnaissance battalion crossed to go to Nijmegen.  Phase 1 and we have consigned the dustbin of history to the dustbin of history.

Part 2 (18 September 1944) was a tabletop fight pitting the 9th Pzr (reconnaissance) against elements of 3rd BN, 1st Brigade British Airborne.  It was, not surprisingly, a bloody house-to-house slog.  The challenges of urban combat were clear as the Germans ran into tenacious British Paratroopers the moment they entered the board.  The German forces had a considerable advantage in both numbers and firepower, but the psychological effect of not knowing where the Red Devils were hiding took its toll on the speed of the German advance.

After getting hung-up mid-game (exacerbated by a flare up of "never say die" from some bypassed paratroops in their rear), the Germans finally gained some momentum with successful coordinated attacks between their tanks and their infantry, but it came a little too late in the game and the British managed to retain control of the Bridge through sundown on the 18th of September.

There are plans to continue this campaign, but students of history will see that, unlike the events of history, this campaign is still very much in the balance going into September 19th.  Next up, the XXX Corps Breakout....

I will post more links to photos of the game as they come in.

Like now: UPDATE, John posted in-game pics here.  Enjoy.

Friday, March 11, 2016

Easter Rising: Battle of Ashbourne WIP

Making progress on the Fingal Volunteers and the RIC.  And some sheep, too, because what's an Irish countryside without meadow maggots?  Here's how it has gone down so far...


Finished the basecoat on the RIC.  Used Vallejo Heavy Black Green diluted 1:3 with Secret Weapon Black Green wash.  The results were too vibrant, so...


I hit the RIC uniforms with a liberal glaze of Secret Weapon Light Body Black wash.  That toned things down a little.  Also finished the Fingal Volunteers' hats using Light Body Black, Heavy Body Black, Concrete, and Stone washes. 


Finished the weapons with Vallejo Heavy Charcoal Grey and GW Chestnut Ink.


Washed the gunmetal with GW Black Ink and used a really cheap bulk Burnt Sienna acrylic, heavily diluted, to basecoat the bases.  Once these dry I will drybrush and flock them and call it good.


All I have left then is the Model T trucks for the RIC.  Looking like this game is going to happen next week at Cold Wars.

Sunday, January 31, 2016

Battle of Amiens-Aussie Awesomeness!

It's a new year for awesome wargaming in the Tactical Gaming Society and we got off to a great start with Richard's presentation of the Battle of Amiens.  Using modified Bolt Action rules, Richard gave us some Great War action that involved an unusual amount of maneuver, much like the actual battle in 1918.

I'll leave the full BatRep to Richard.  Here I will focus on my portion of the battle-an Australian assault platoon on the right flank.  Comprised of four infantry sections and two tanks, we replicated the tough-as-nails quality of the Aussies by giving them the "Tough Fighters" special rule, which made them especially dangerous in close combat.

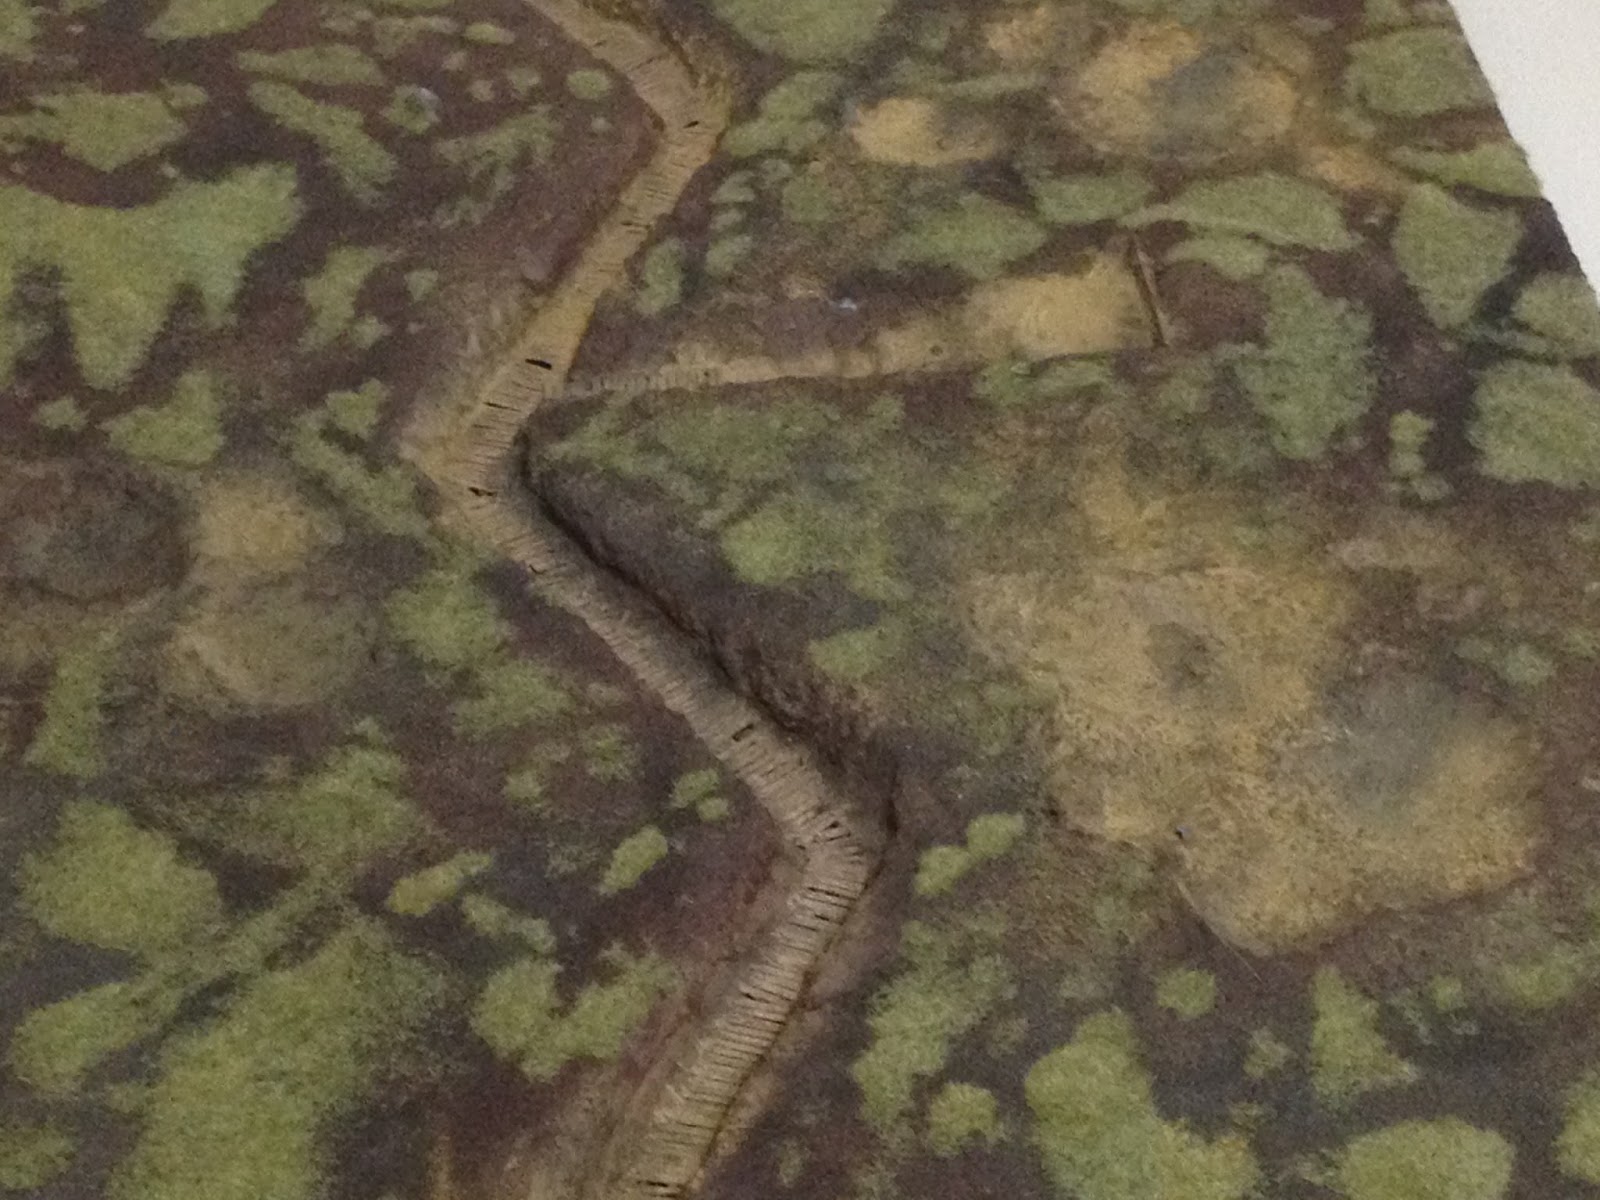
First things first.  Check out the awesome table that Richard made for the game.  His goal was to replicate the pastoral landscape of the Amiens battlefield, which was fairly unspoiled when compared with other more contended regions of the Western Front.  I'd call this success.  Check out the duckboarding.  Mindblowingly detailed.


A few fresh craters give a preview of things to come.


Here's my platoon.  Richard went with 18mm, which allowed us to play a company sized-game in a scale that made the battlefield look right.

Following a massive rolling artillery barrage.  I started by advancing my tanks on the right.

As the tanks prepared to knock holes in the barbed wire, I moved my infantry squads up and prepared to assault the first line of trenches.

Which they did with frightening efficiency.


Having brushed the German defenders aside in the first trench, the Aussies prepare to assault the second trench line.


Using a downed Sopwith Camel as a guide, the Aussies continue their advance across the alarmingly open ground.


The German artillery, having recovered from the Commonwealth bombardment, starts to gain hits against the Aussie tanks, disrupting the advance somewhat.


But no worries.  On the far right flank one squad uses a tank for cover to get within assault range of the second line of German trenches.


A German flamethrower team managed to set my lead tank alight, causing the crew to bail out, but the Infantry squad bypassed the burning wreck and gained the second trench line with another devastating assault.


The Germans tried to eject the hard-bitten Aussies from their new claim with machine gun fire, mortar fire, and counter assaults from two units.  Nothing would dislodge the Diggers now that their blood was up and they ended the game with the furthest advance of all commonwealth forces.  Kind of like it really went down in 1918.


A very very good game.  My teammates Gavin and Keith had a tougher go of things in the center and on the left, where a German MG and an improbably resilient flamethrower team had some good effects against tanks and infantry squads.  Speaking of a tough go, our valiant opponents, Casey, Rhett, and John had difficulties from the get go due to some hot artillery rolls on our part (which they were unable to match with their artillery rolls over the course of the game).  Had the German players the hotter dice, our advance would have been slowed significantly.

Great game.  It looked right, it played right, and it was a ton of fun with six very good players and a top-notch GM.  I really like playing with the smaller scale.  It looks much better than 28mm for this size battle.

Game well.

Tuesday, January 5, 2016

Water Effect Follow-Up

Back in August I took you through the struggles of my first attempt at blue water water effects.  If you remember, I was using acrylic gel medium for the first time.  I wanted some real depth to the water, so I got a tub of super heavy acrylic gloss medium and slathered it onto my test panel.  After a week, it looked like this:


I promised I would get back to you with the results once the gel clarified.  It is now nearly five months since I schmeared the test panel, and this is what it looks like:


As you can see, the super heavy gel medium holds whatever shape and surface marks you make (intentionally or not), so you can sculpt turbulence and waves into the medium, but you have to be very careful and deliberate with the technique you use to manipulate the gel.  Another problem is that the gel is too clear.  The transparency and clarity creates the illusion of a cup of sloshing water magically contained on the surface of a styrofoam panel colored with blue and ochre pigment.  Does not really evoke ocean.  I'm sure a skilled sculptor could make this work, especially for a large-scale display model.  For 28mm and smaller wargaming, though, this isn't going to cut it.


Finally, there are the bubbles deep inside the cured gel.  Again, a really talented sculptor could make these work.  I cannot.


So, in the end, I fall in line and recommend what so many other, more experienced water effect modelers have been saying all along: Create the illusion of depth with paint or pigments applied to the board surface and then use a thin coat(s) of acrylic gloss medium to model the water surface and waves.  Like this:


Game well!

Saturday, September 19, 2015

John's Normandy Game

Go check out John and Rhett's Normandy game here.  Sorry I missed this one.

Game well.

Sunday, August 30, 2015

Guadalcanal Table and Battle Report

Today we played the long-awaited Guadalcanal game.  Expectations were high for this one, and Rhett did not disappoint.  He definitely delivered a very tight scenario with solid mechanics that conveyed the situations in which the USMC and Imperial Army historically found themselves in this fight.

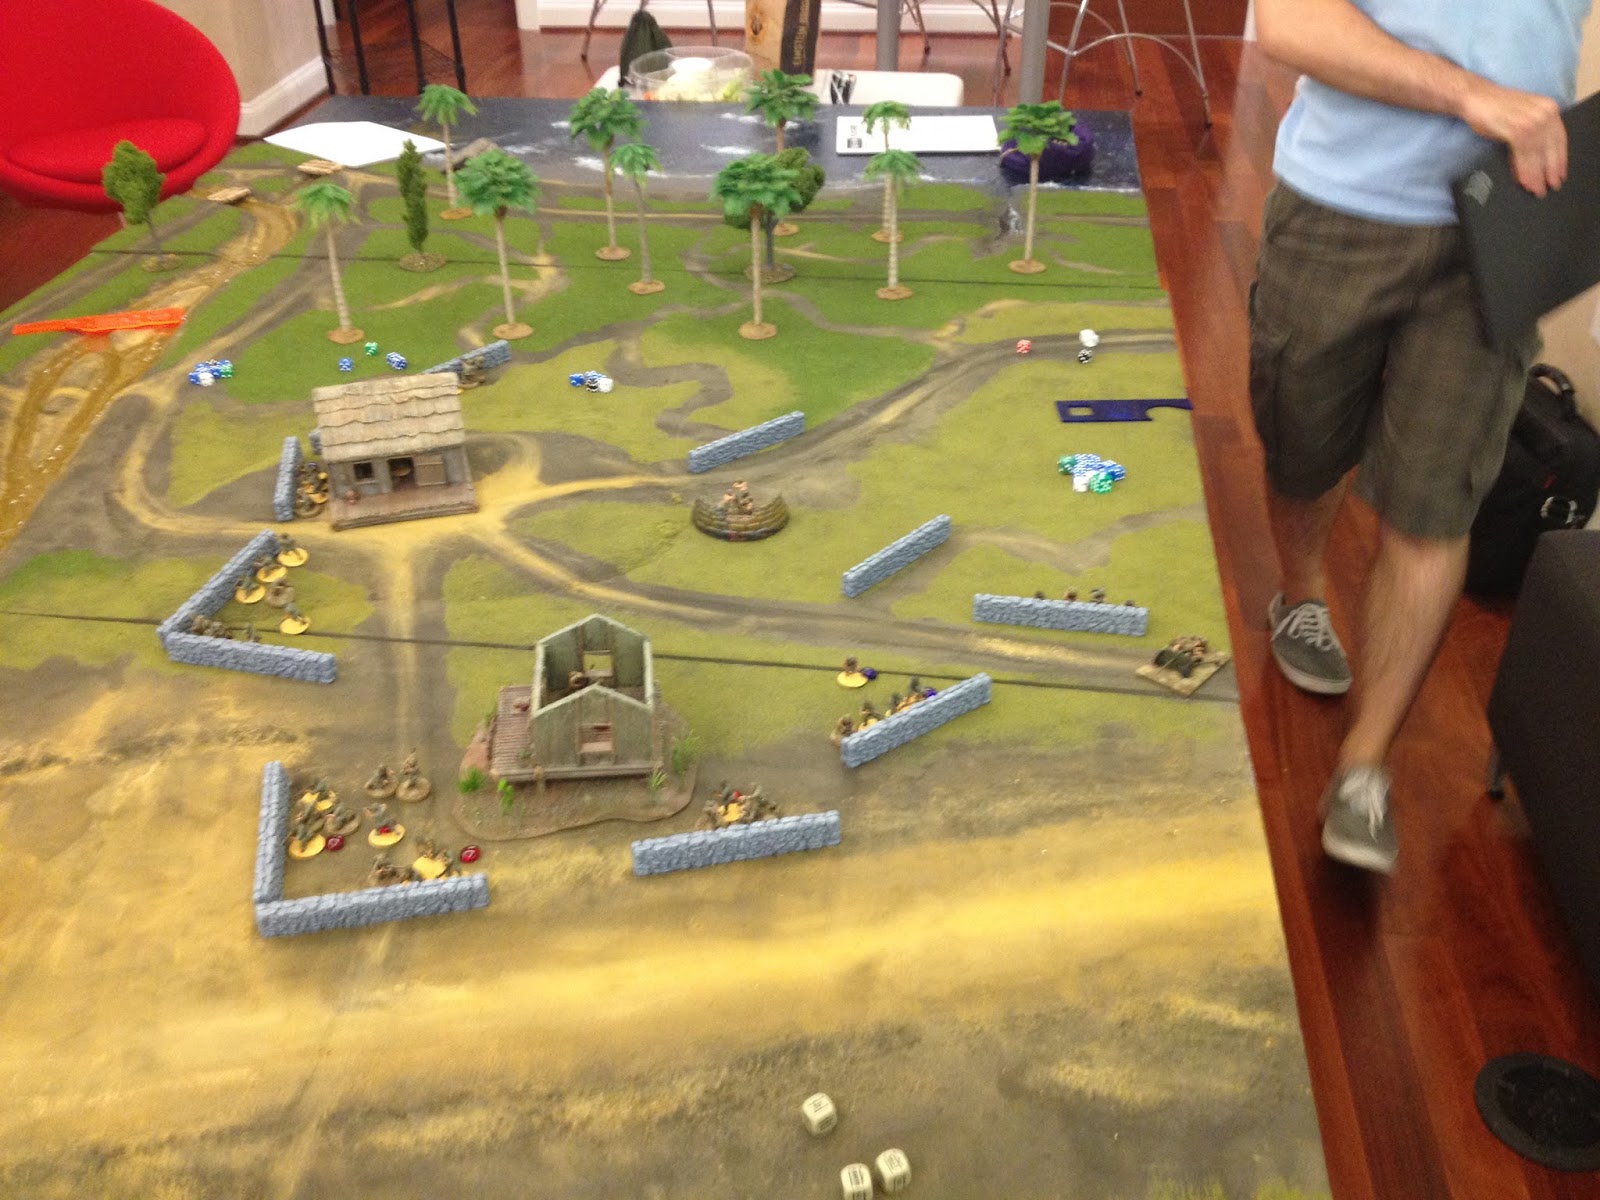
The scenario was intended to represent the final Japanese offensive against the Henderson Field perimeter.  While the wargame was definitely representational rather than literal, it certainly captured the feeling of the USMC gaining dominance on the island while the Japanese hurl the last of their dwindling, but very hard-hitting force against a tough defensive position.  It was a very fun game.

First things first, though, here's how the table turned out.  It was OK.  If the Lungga river looked more like muddy water and less like butterscotch pudding left too long in the sun, it would have been a really great table.

The waves worked pretty well.  I used snow flock to produce bubbly wakes trailing out behind each wave.  Definitely lends motion to the ocean panel.  I ended up applying three coats of acrylic gloss medium over the initial water effect laydown.


The volcanic soil turned out to be just the right color, and I like the way the the light sienna pigment produced some dusty contrast in high-traffic areas.


The go-to move of dry pigments fixed using denatured alcohol again produced amazingly realistic runoff effects.

And then there was the river.  The sad, cracked, lumpy, bubbly Lungga River.  Well, when you are starting out not every water effect gets to be the best water effect.  This was a definite miss.  I will fix it with acrylic gloss and pigment if we end up taking this table to a competition, but for now I'm just chalking this up to a learning experience.  I think I need to use less acrylic gel medium in water effects that are meant to be smooth.


On to the game.  Gavin, Drew and I played the Japanese attackers.  Rich and Owen played the USMC defenders.  The scenario called for two attacks on successive nights.  We treated the first attack as a reconnaissance in force to see how the Marines would react to a penetration of their perimeter.  We advanced with my platoon on the right, Gavin's platoon on the left, and Drew's platoon in reserve.

Because it was a night attack scenario, no units could be targeted at a range of over 18" unless there was an illumination flare in play.  Both sides used flares to varying degrees of success.

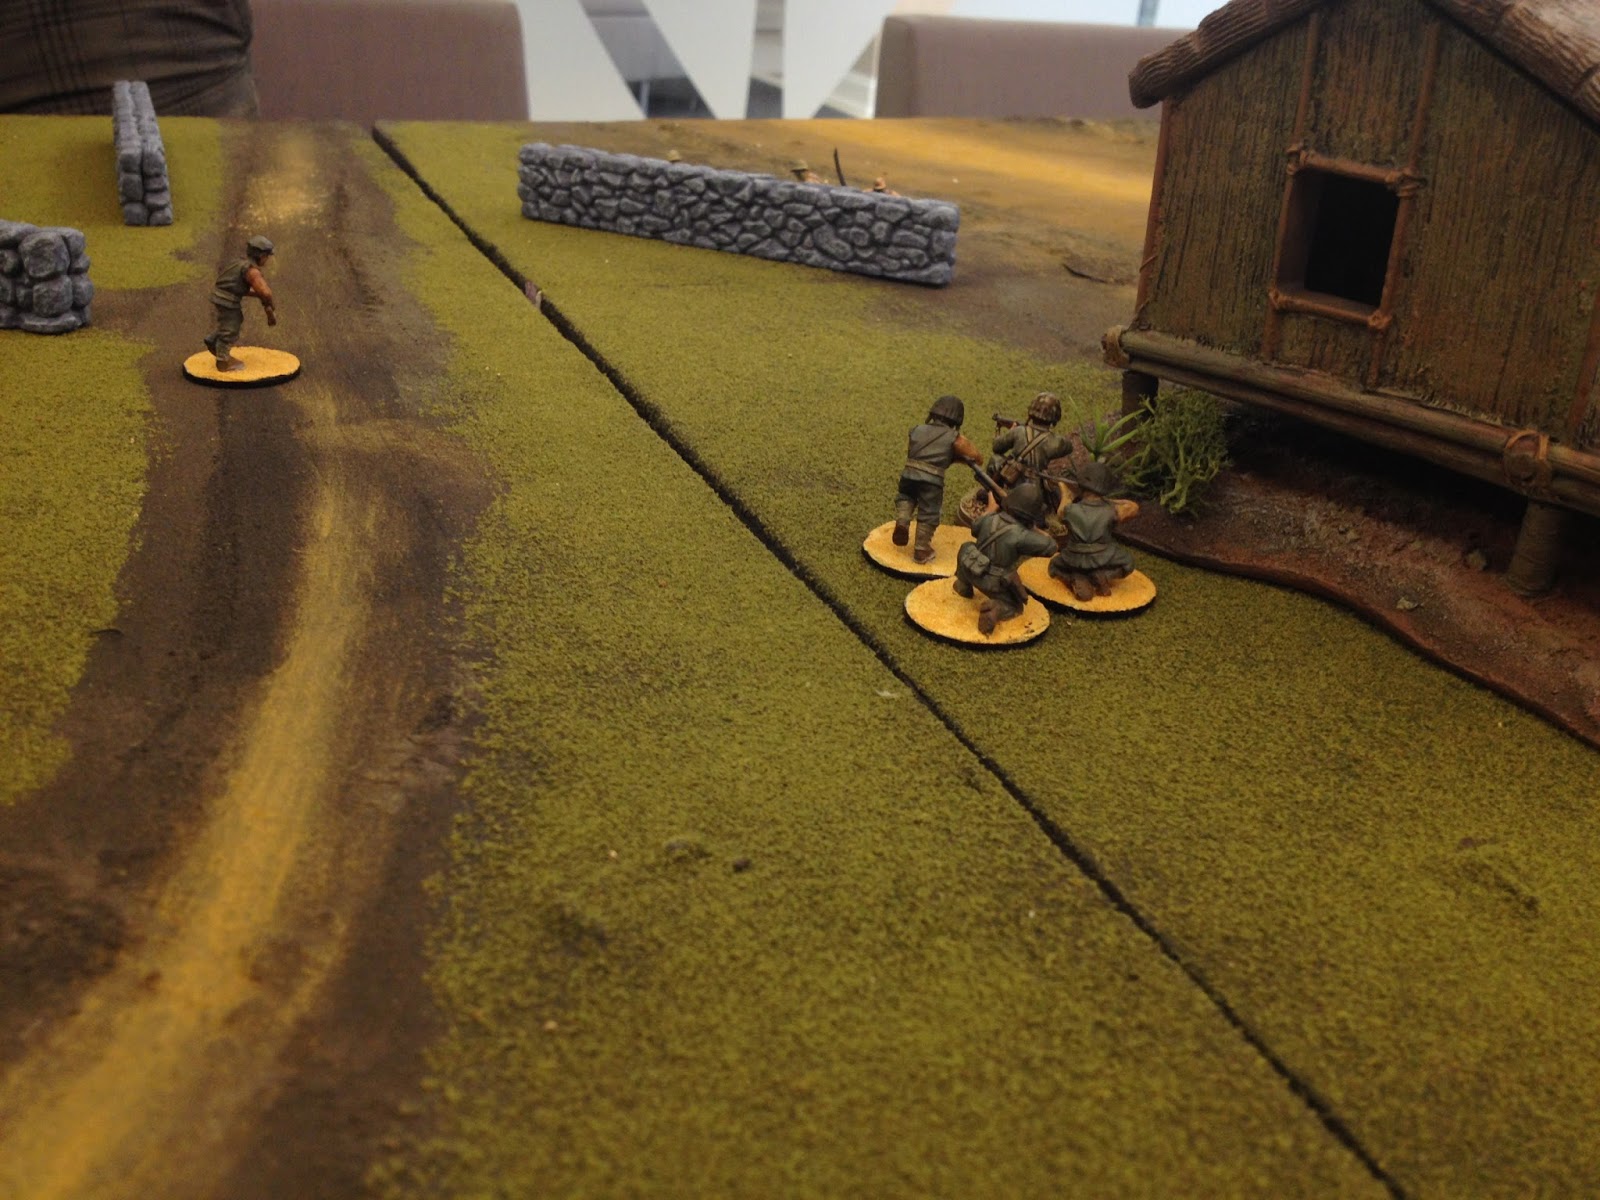
Rich and Owen use a flare to illuminate the lead squads of the Japanese attack.

The Marine firepower took a pretty good toll on the Japanese as they advanced, but not enough to knock out any squads.

I have to say that Owen was rolling hits and wounds like a Boss today.  Definitely had the hot hand.

The first wave of Japanese assaults hits the USMC line.  Once in close combat, the Japanese were devastating and Marines started to fall like wheat before the scythe.

But the Corps had an answer for that shit: flamethrowers.  They would take a decisive toll on the attackers over the course of both attacks.

Our support position on the ridge south of the airfield did not play a decisive role in either of the attacks.  Very hard to get after the Marines in buildings and hard cover.  A few pin markers, but only one or two casualties.


The Japanese sweep the Marines from the perimeter.  In the center you can see a single Japanese soldier attacking the building with explosives, which causes sufficient damage to cause secondary explosions inside the structure, killing the Marines inside.  Boom.


This is how the first engagement ended.  The Marine perimeter is compromised, but forces are repositioning to meet the threat.  Here, the lone remaining Japanese troop, armed with explosives, is hauling ass toward the remaining structure to blow it up.  But the Marines deployed another flamethrower team and, well, that was that.


During the following day, the Marines got busy restructuring their defensive perimeter.

The Japanese launched their second attack form the same place, but narrowed our front to limit our exposure to the USMC direct fire.  Which worked very well...

...but did not work very well with regard to indirect fire.  The Marines surprised us with artillery support in the second attack, which played holy hell with our densely-packed attack column.

Even with the addition of infiltration teams (our game 2 surprise) flanking along the river to the West to take advantage of the Marines repositioning to meet our main attack, the second game was never really in question.  The initial Japanese assault hit very hard and again cleared-away the first line of USMC defenders, but the Marines had more than enough capability left to recover and deal with the attackers.  Flamethrowers.  Daaaaaamn.


The victors and the GM.  Well-played, fellas.


All in all this was a very fun game with finely-crafted special rules.  Big props to Rhett for a high-quality event.  During the post game discussion we talked about the challenges GMs face in developing scenarios that remain true to history while at the same time keep players emotionally invested in the outcome.  As Gavin rightly pointed out, no battle is ever balanced and fair.  Any general that seeks a fight with even odds is doing war wrong.  Turing that imbalance into a fun wargame is our art form.